Developing FILM photography and Medium Format Film
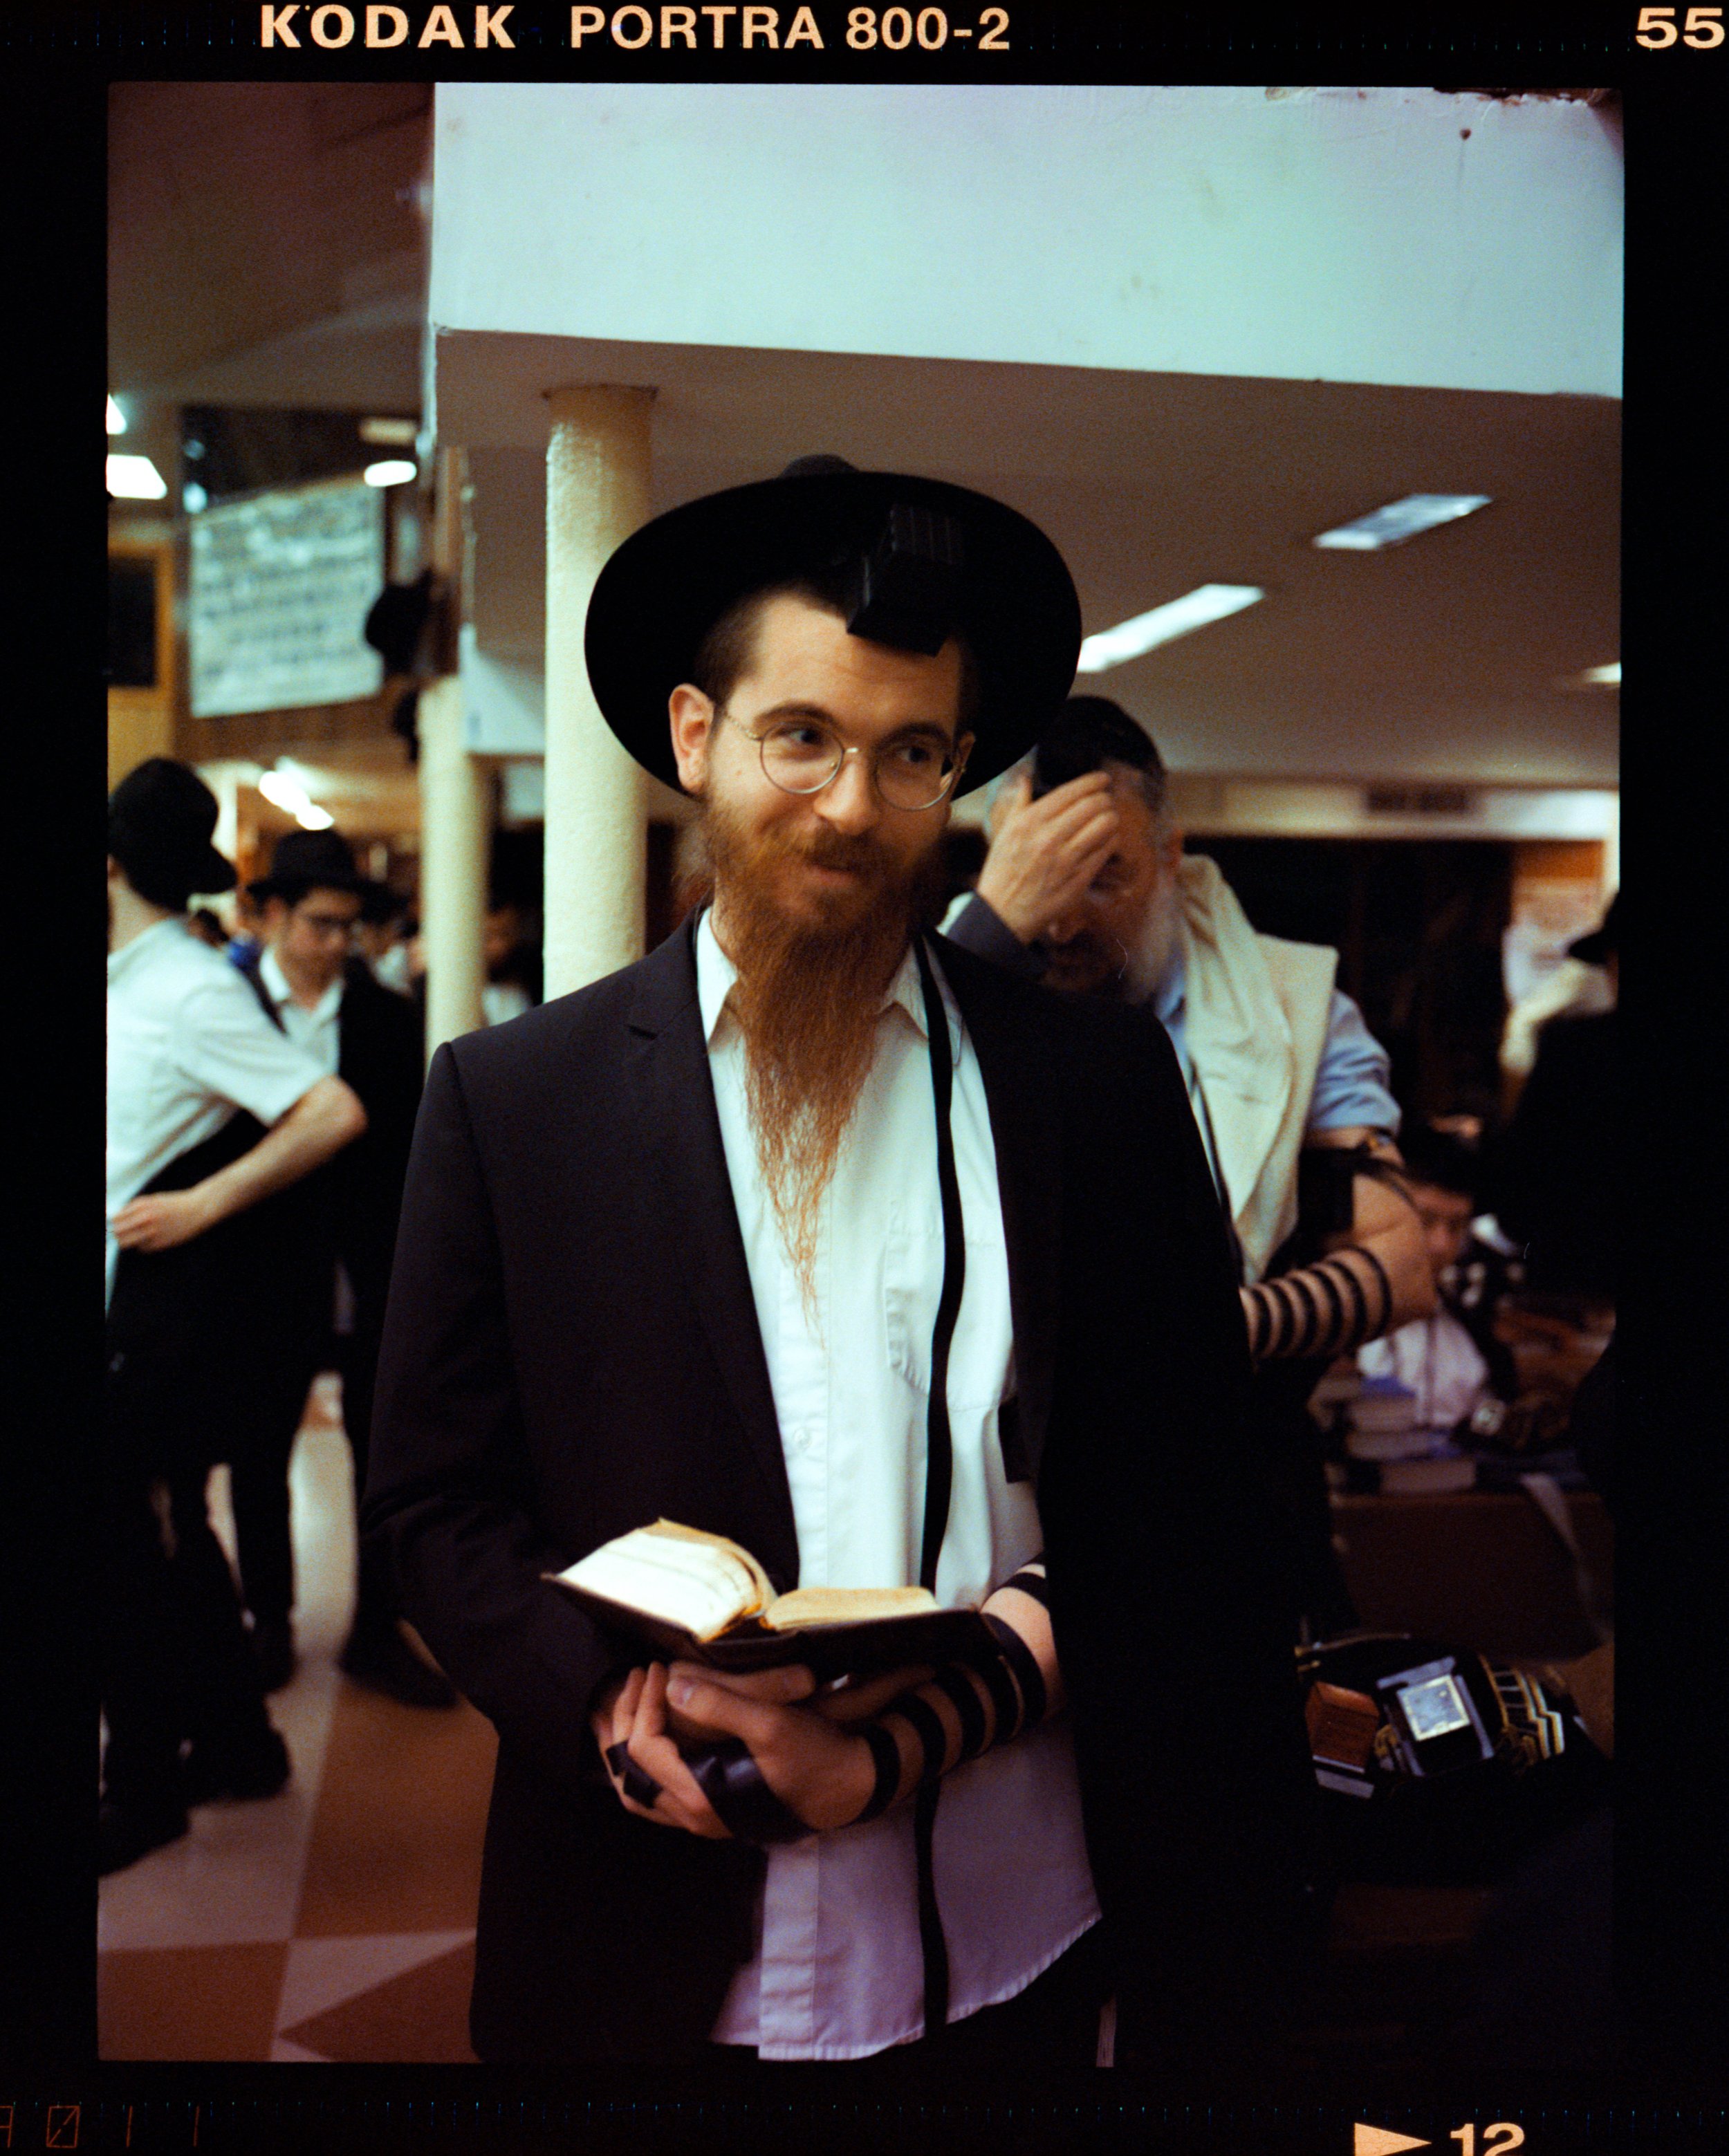
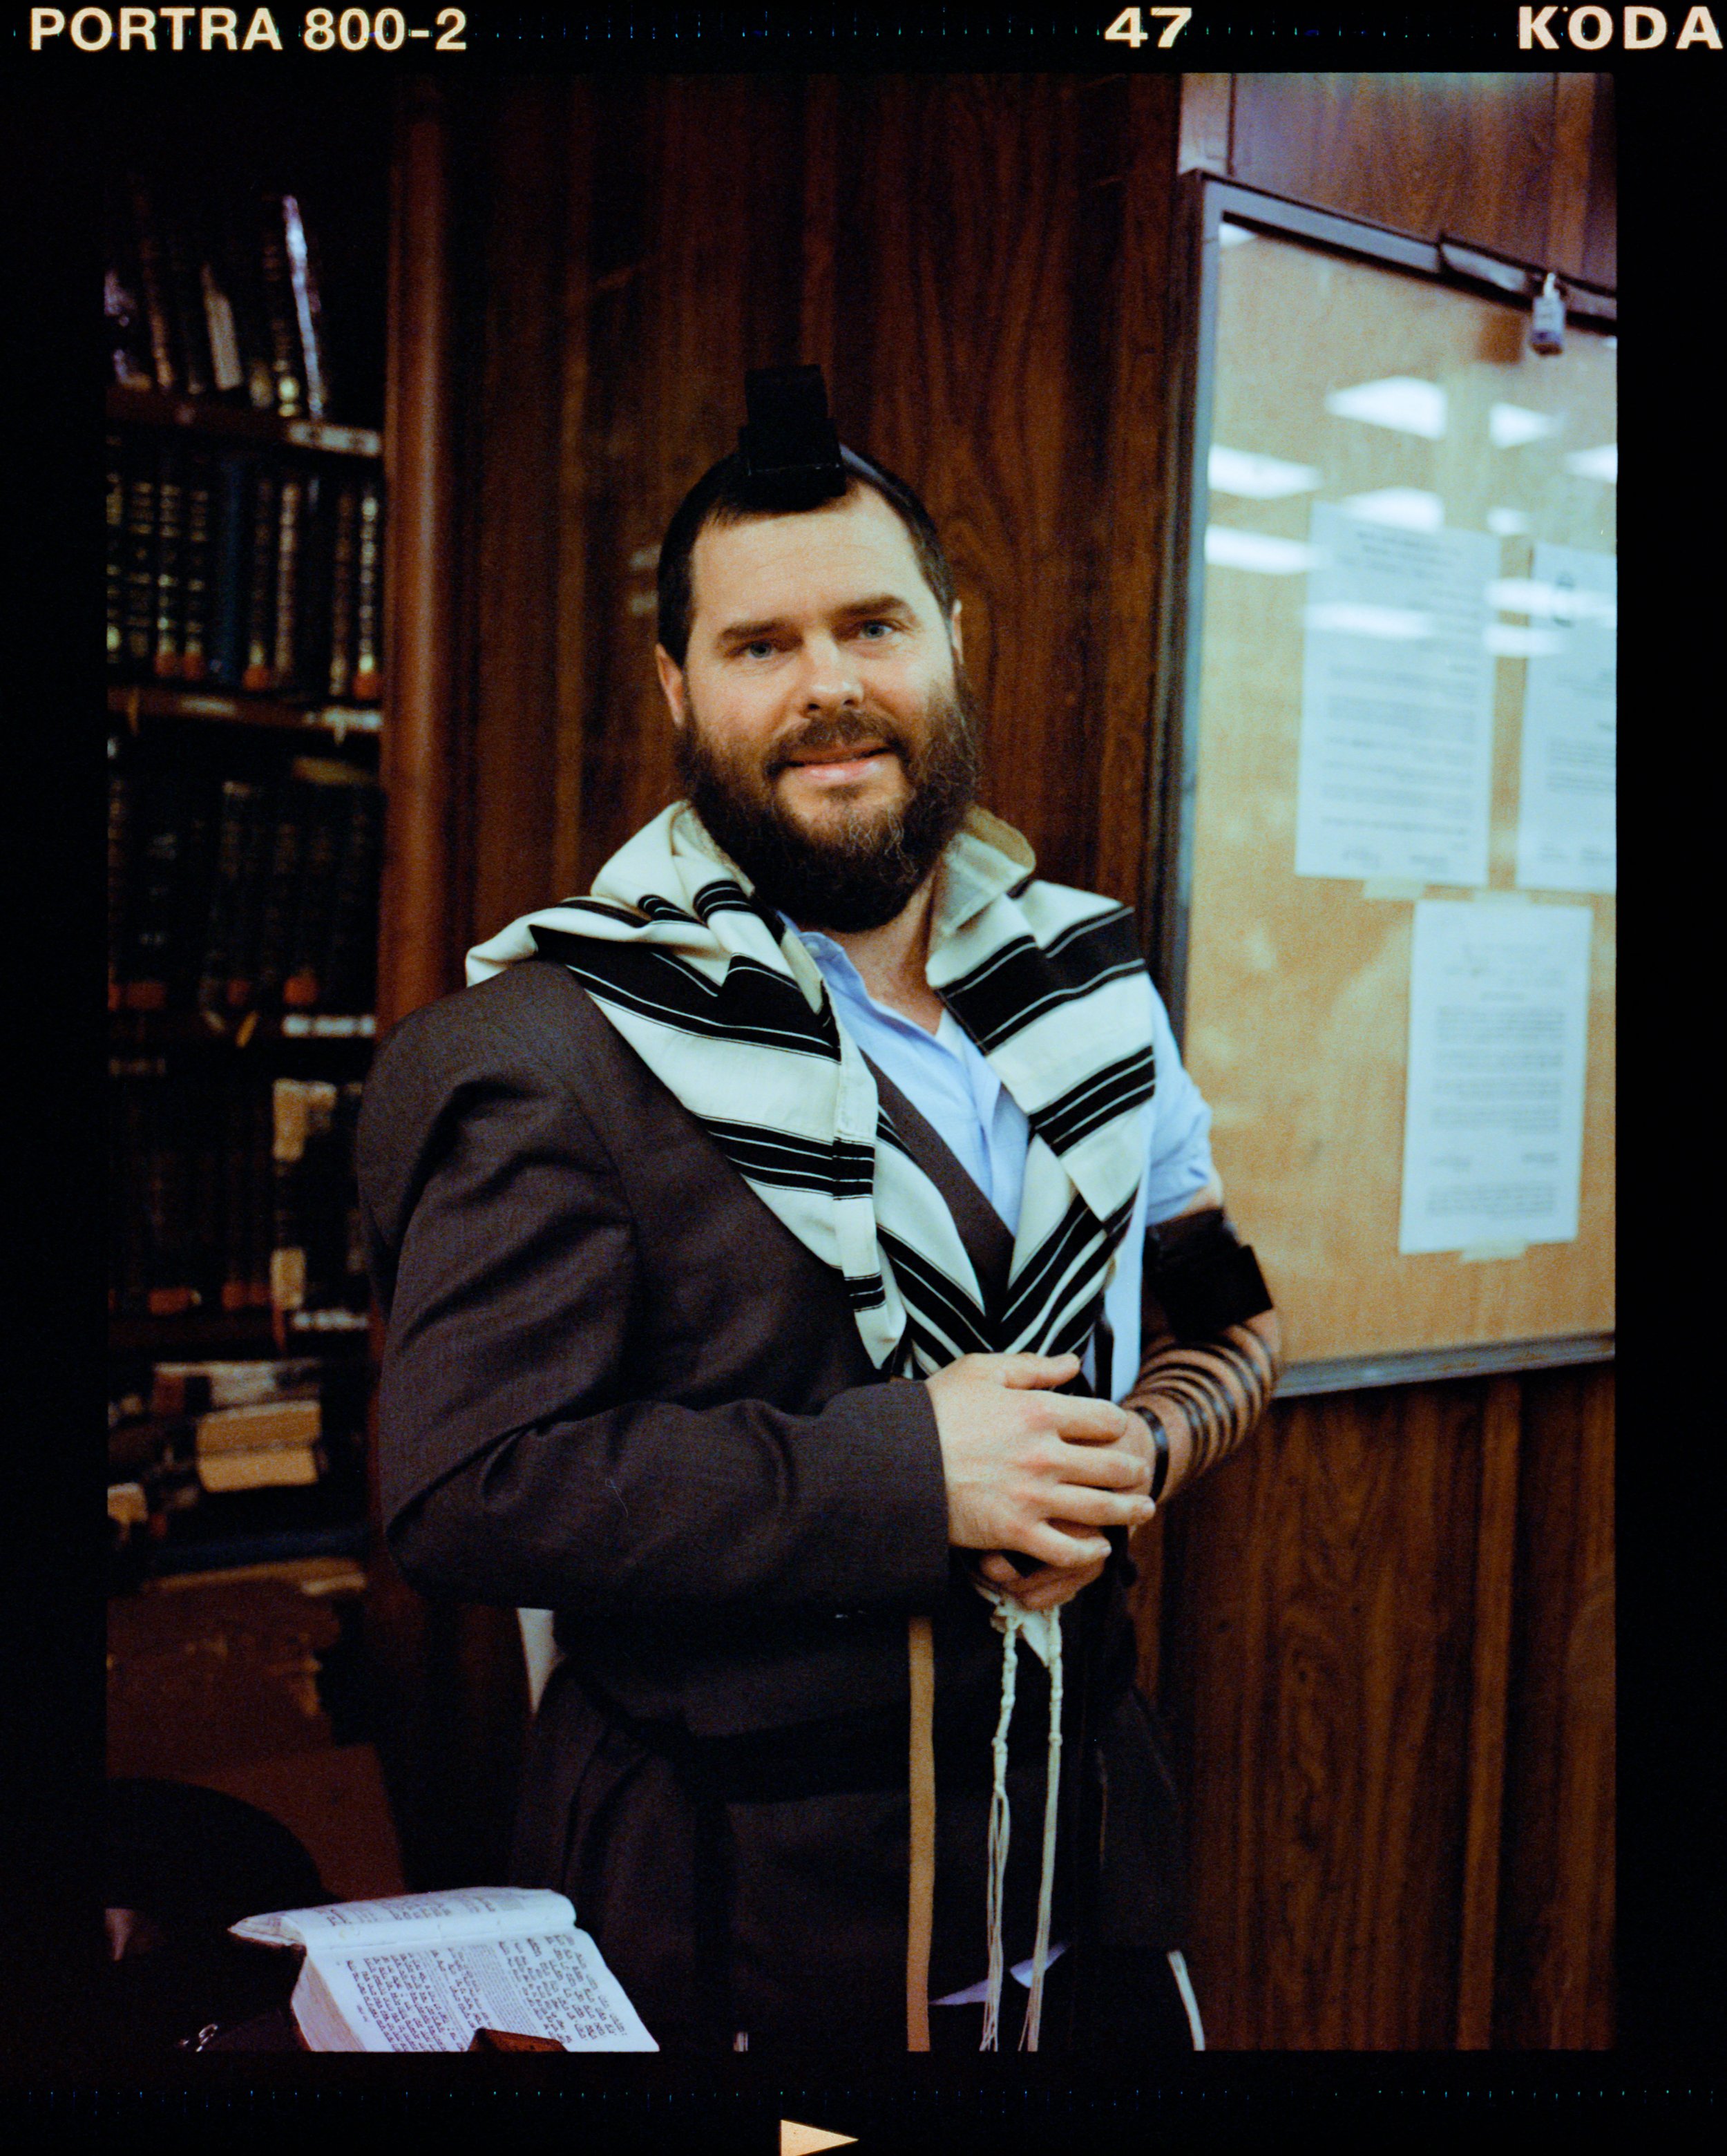
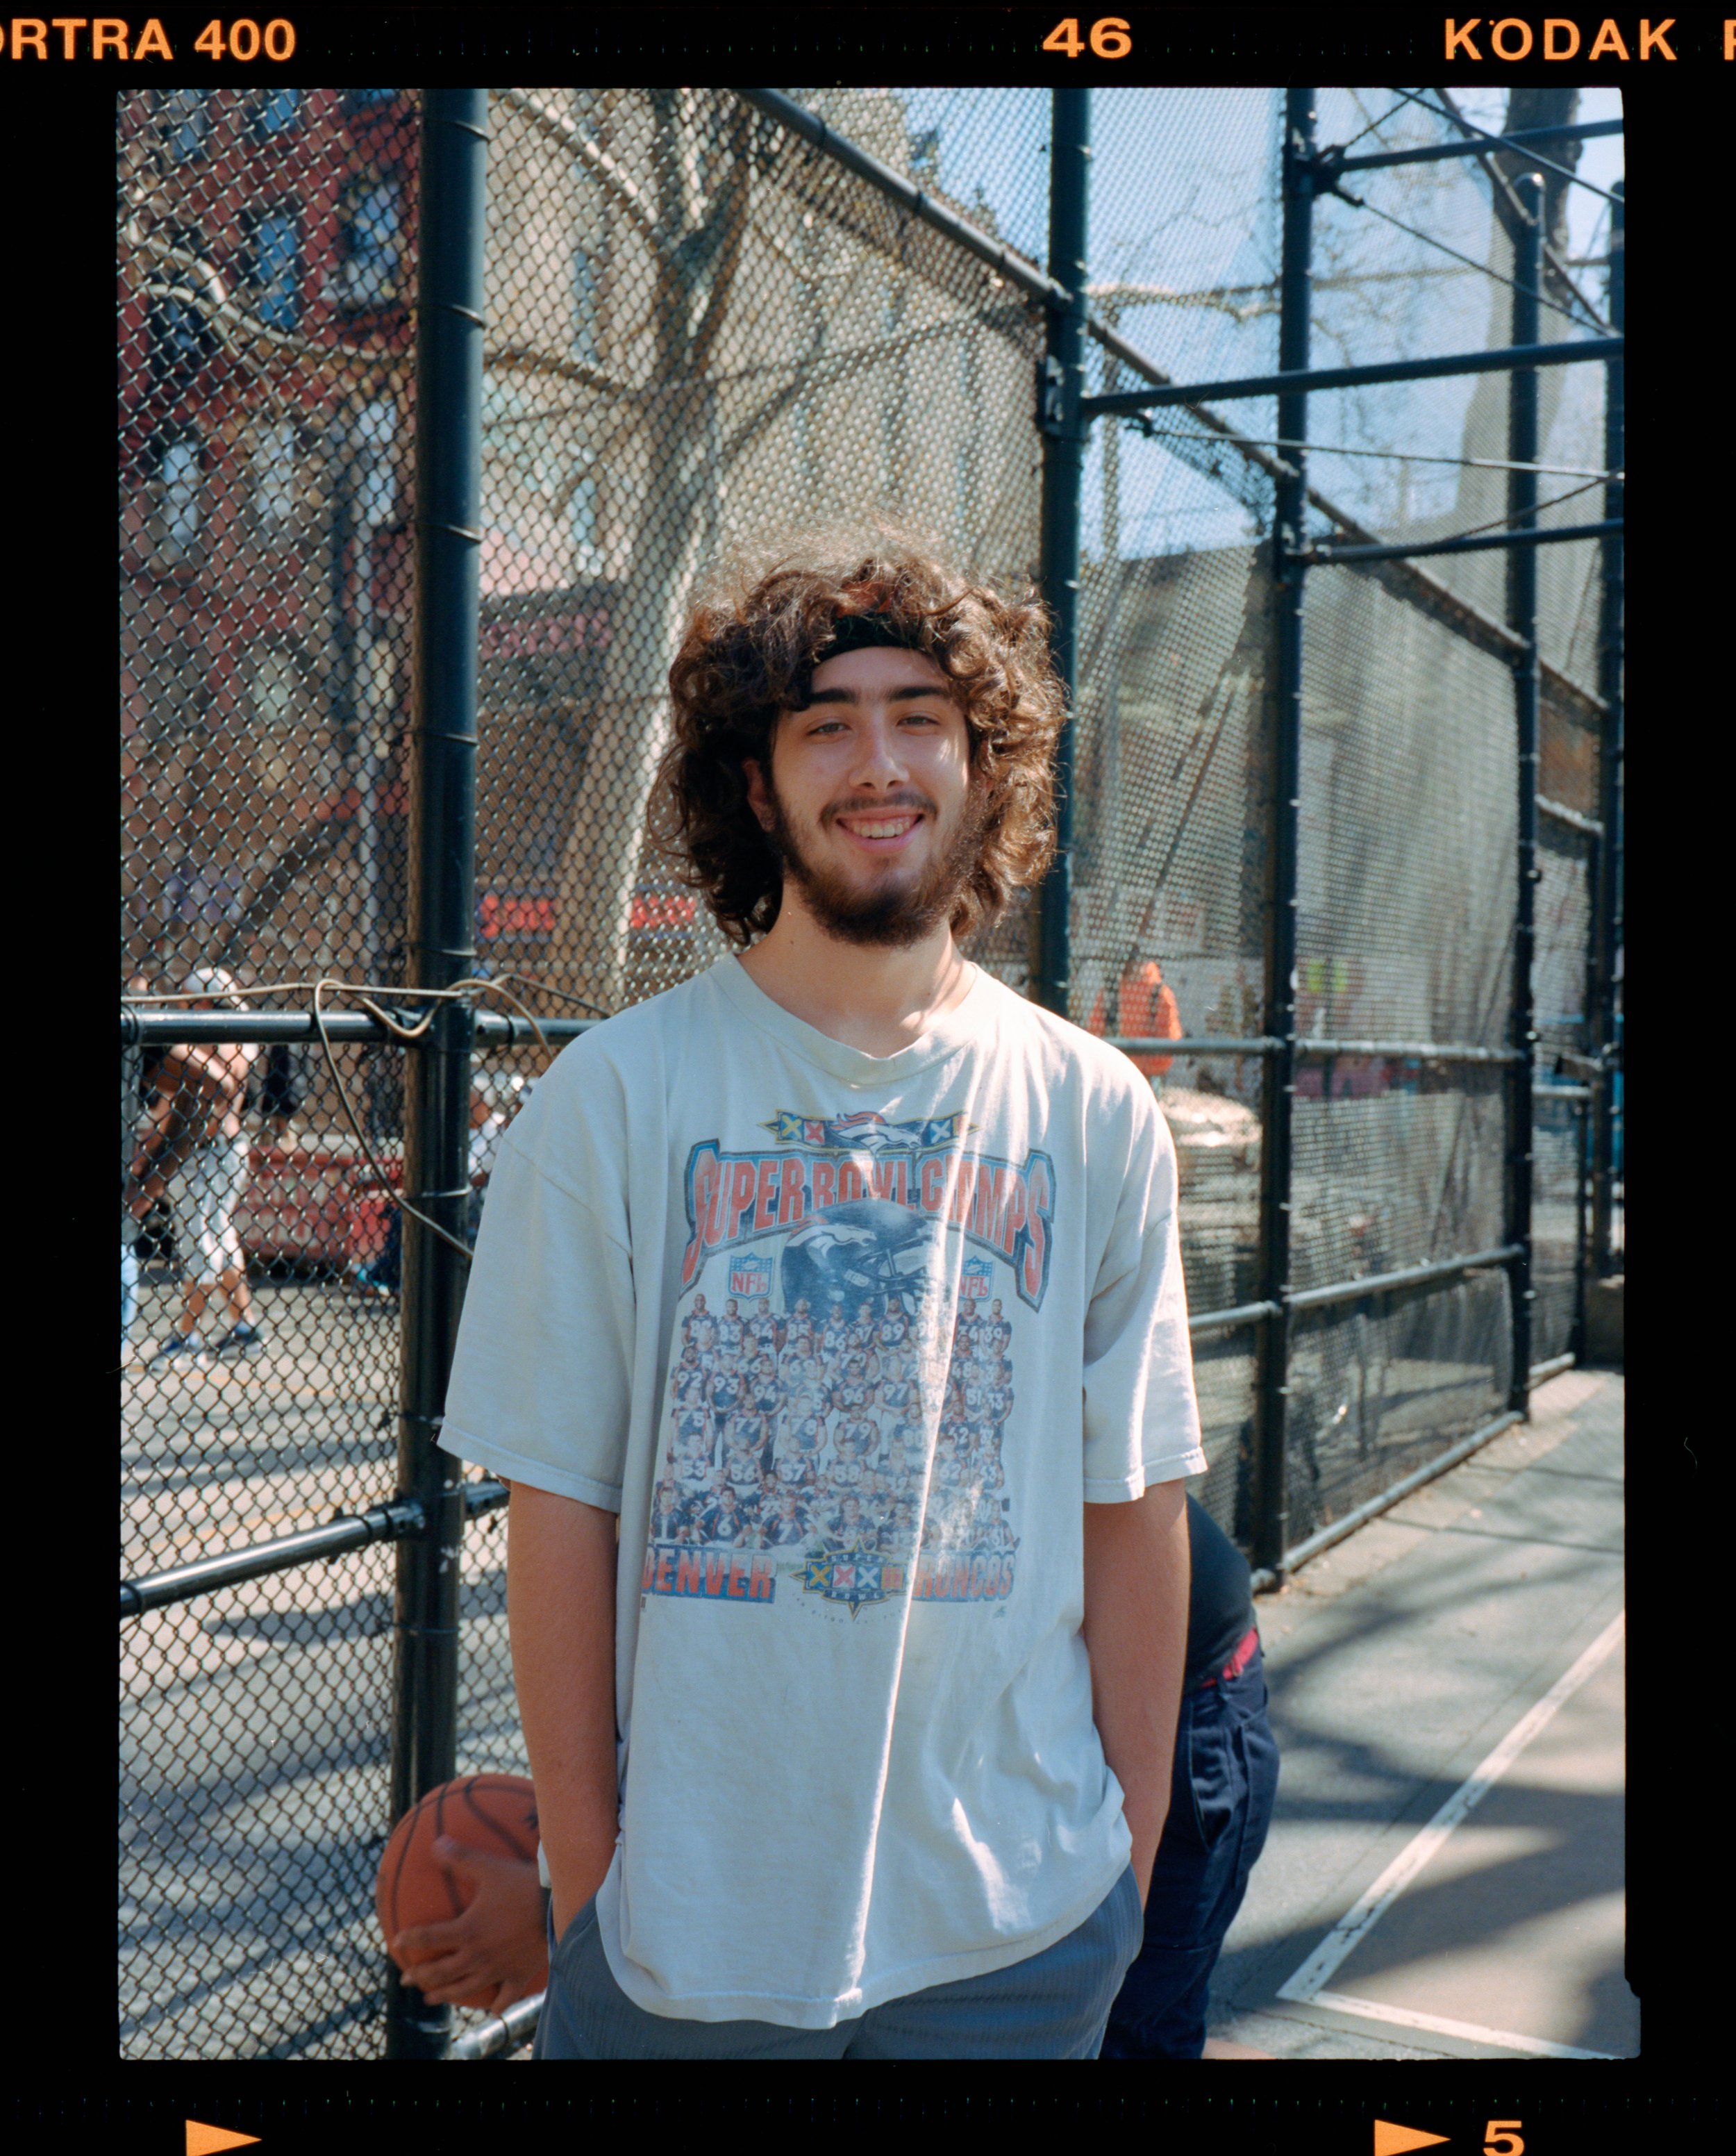
Photography is amazing - as a hobby or as a career - setting up photoshoots or video shoots can get you access to worlds you wouldn’t normally enter. Sometimes it’s front stage at a concert, or in my case, behind the doors of a Hasidic Jewish community. I’ve been very fortunate, filming all sorts of people and getting to meet people from very different worlds.
And analogue photography, those rolls of films we used to use before digital photography got so easy and highly detailed, that is another pleasure once you get stated. I say pleasure, film photography can be as frustrating as it is pleasurable as you need to get used to not having all that convenience digital photography offers. No instant reviews, limited exposures, high prices and having to develop the rolls and rolls of film that you use. But no matter how much you mess around in Lightroom, you just can’t get the same look in my opinion. Not only that, but those limitations make you a better photographer. Each photograph can cost you over £1.50 these days, and the rolls of Kodak Portra are becoming more and more limited, with prices getting higher and higher.
So how can you save a bit of money? And how can you get better results? Well you can develop your photographs at home. It is not nearly as scary as you think, and the film processing kits can get you through about 15 to 20 rolls of film. I’ve found the results to be much better than when you send your photography to a photo lab if you are okay with removing some dusts on your home scanning.

Film photography from New York - where I filmed my documentary Hanging with Hasidics. I pushed my Portra 800 to the limit in this dark room and had to compensate in the processing - I could have got a sharper image on a digital camera but I don’t think I would have had the warmth.
Processing and Developing Medium Format film - A video demonstration
I’ve been good to you and I’ve made a video showing you how I develop my photography in my photography studio in Elephant and Castle. You just need to buy a few tools first to get started but eventually you’ll find it a much cheaper method if you are taking photography regularly.
Watch the video where I show you how to develop Portra 800 bu using:
A video I made going through how I process and develop my stills photography using C-41 deceloping kits at home. It’s not a scary process once you know how to do it and the chemicals can be reused about 15-20 times.
The main things you need to know are: You have three chemicals - The Developer, the Blix and the Stabiliser. You need to wash the film before you start and after the Blix. You need to keep the temperature of the chemicals at around 39C and the timings will be in the booklet that the chemicals come with. I go into more details into the ideo about developing analogue film above.
I think analogue photography is an amazing thing - it comes with complications - you WILL mess up a few rolls - you should get an image every time, but you may find yourself getting dust on them or some light leaks, but the fun is in the experiment - film photography is still a very physical process and it is much more hands on than just using data to create an image - you are using light at every stage - it is not a binary process. Sometimes you make happy accidents when developing. Sometimes you make bad mistakes.
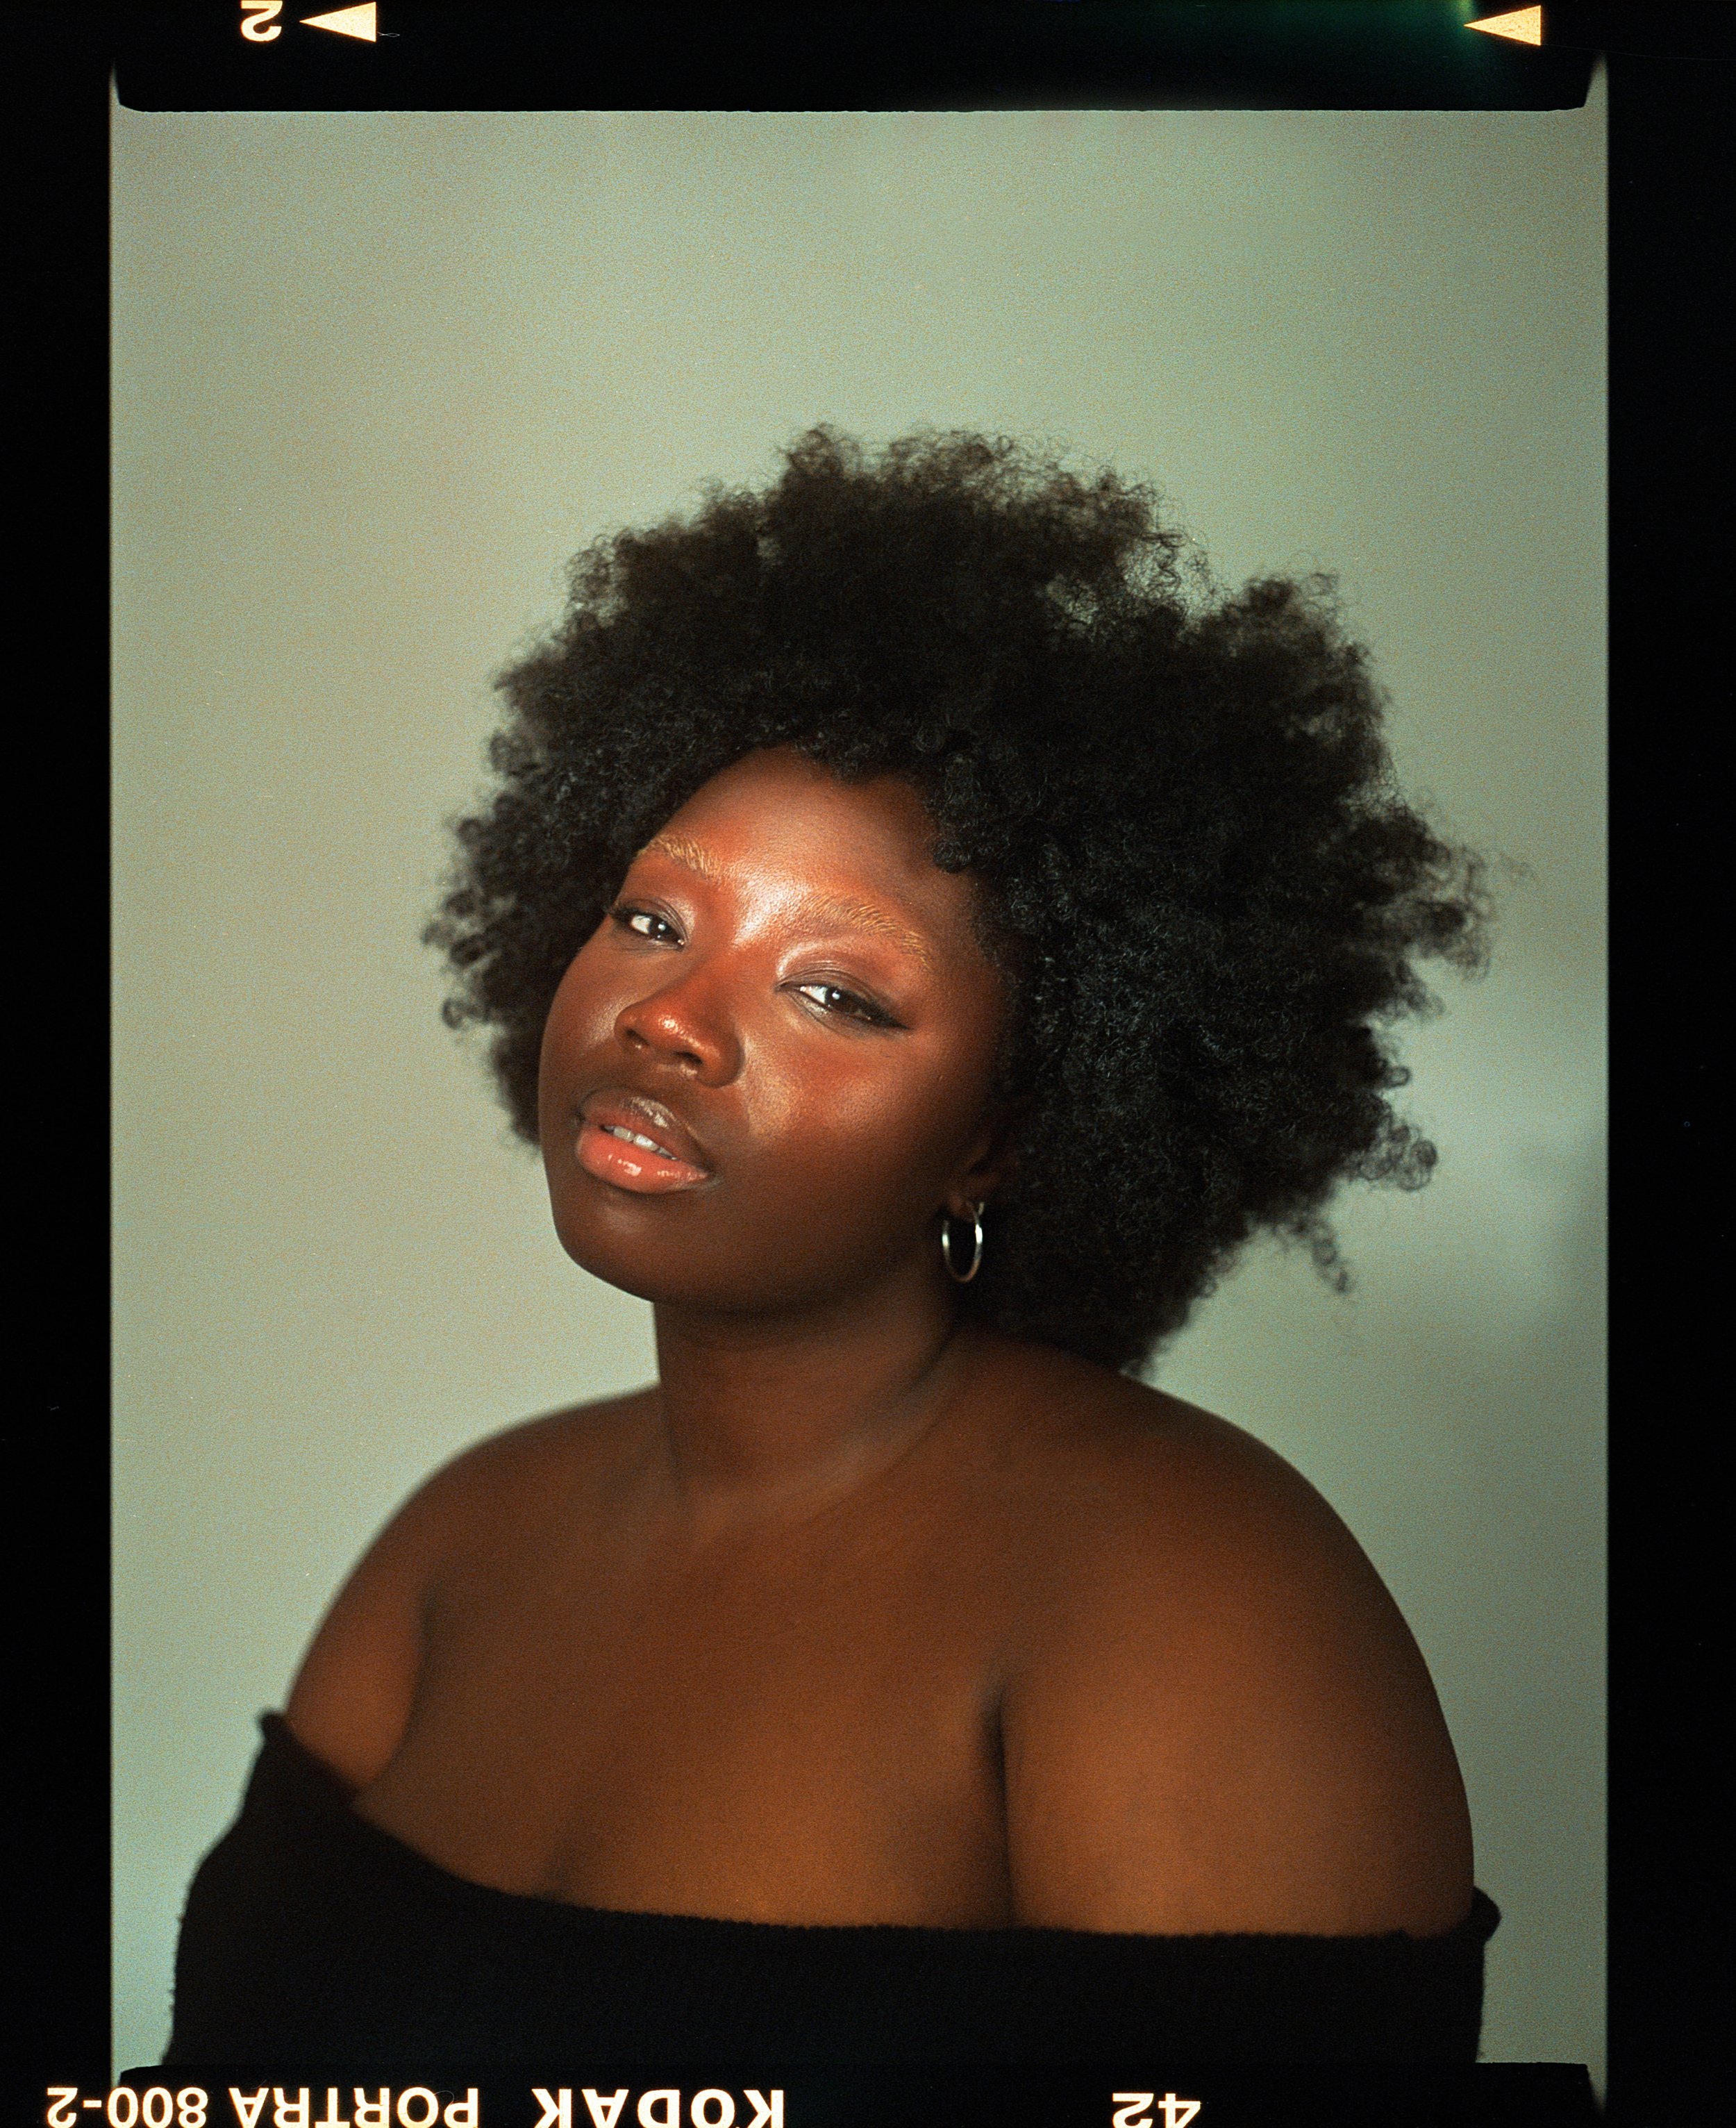
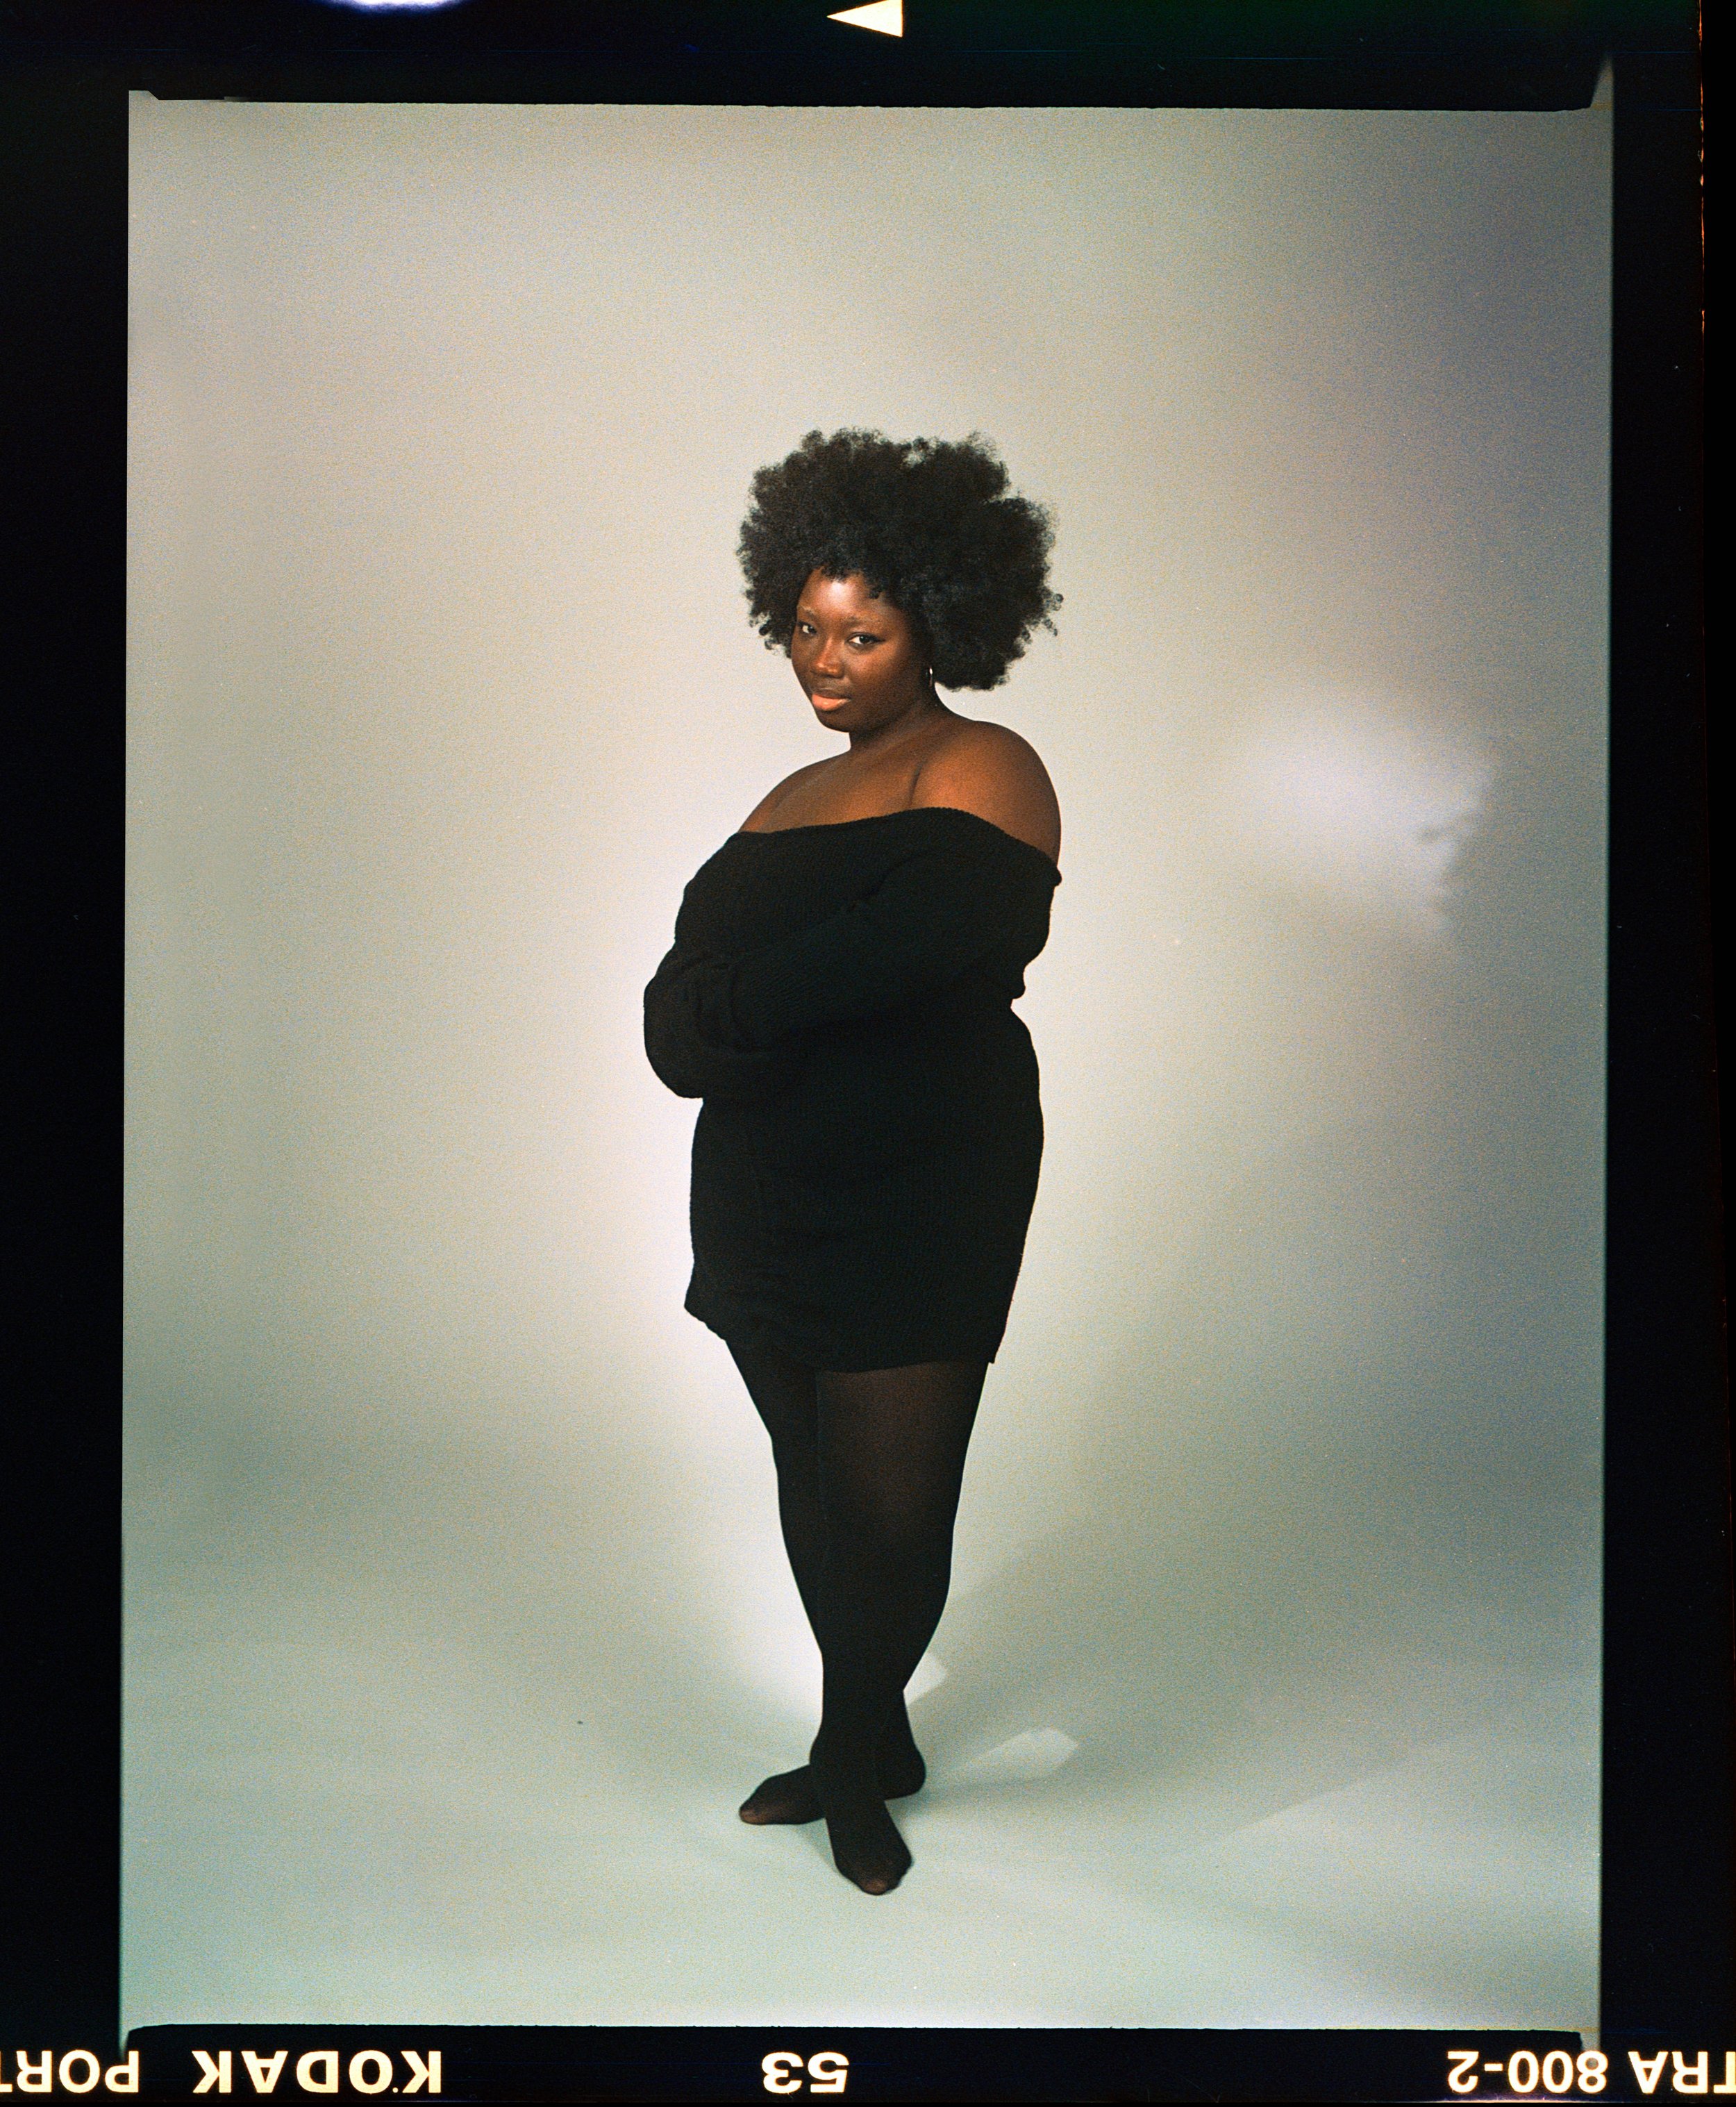
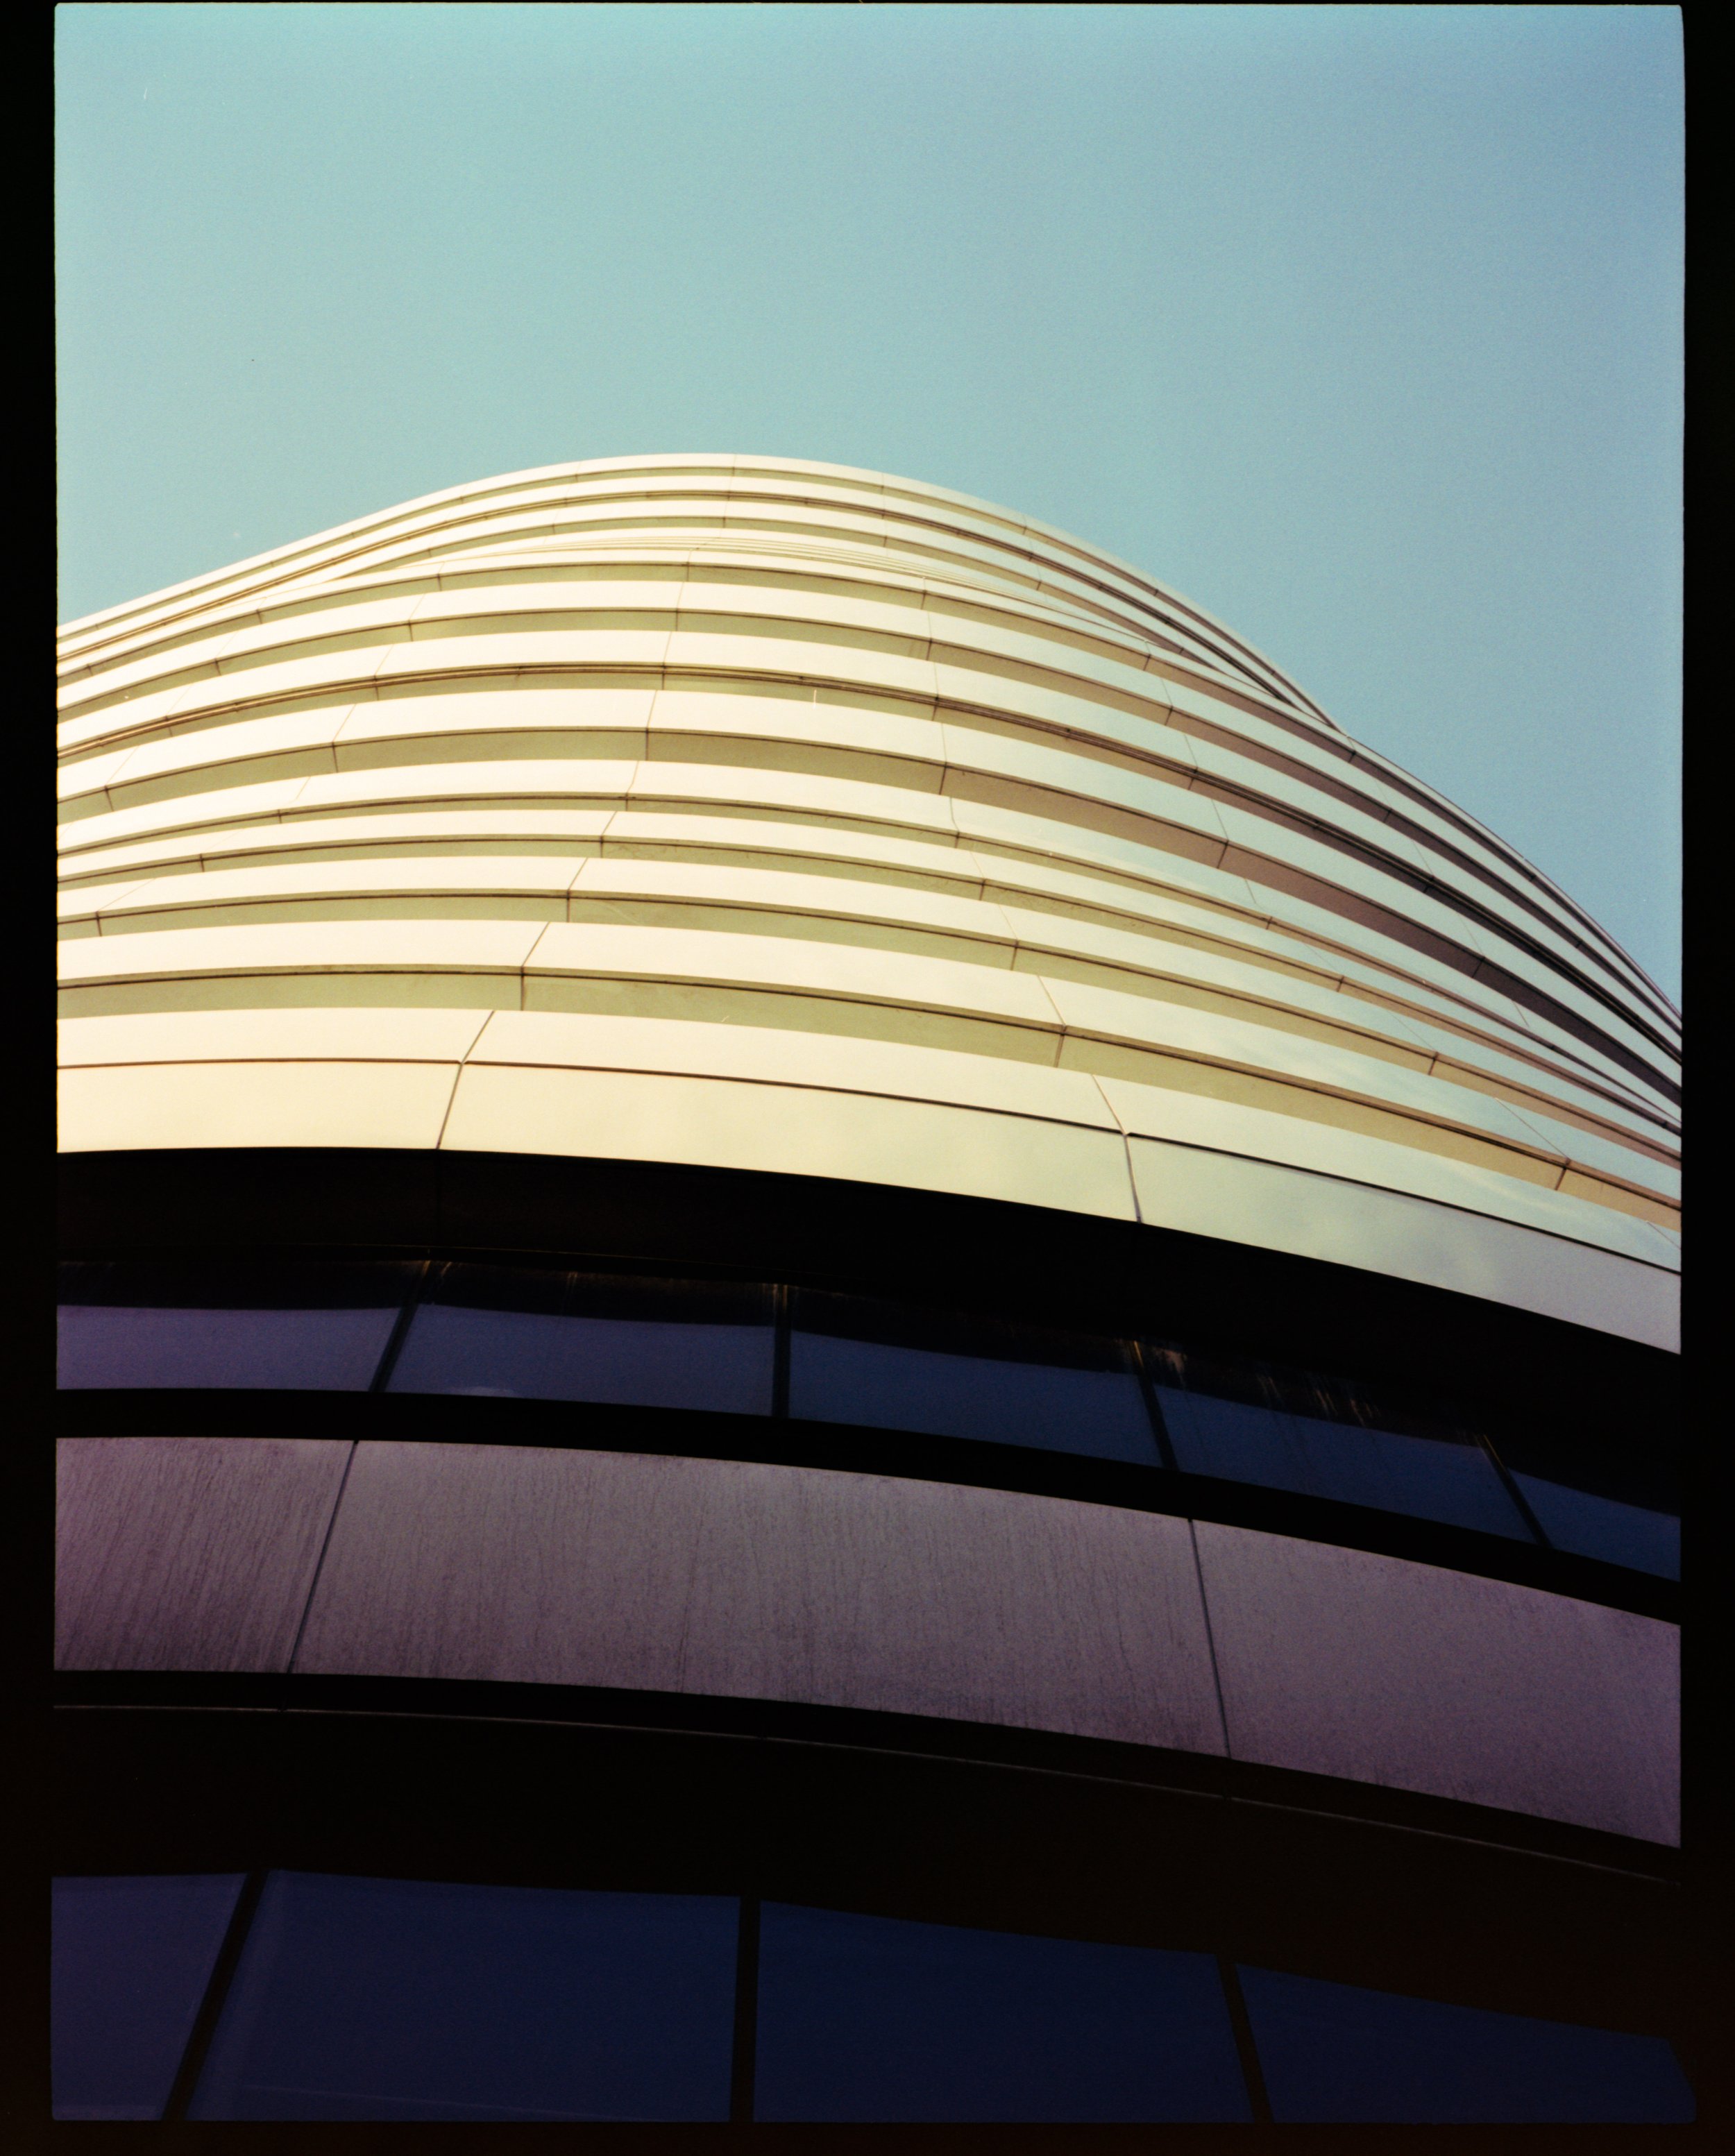
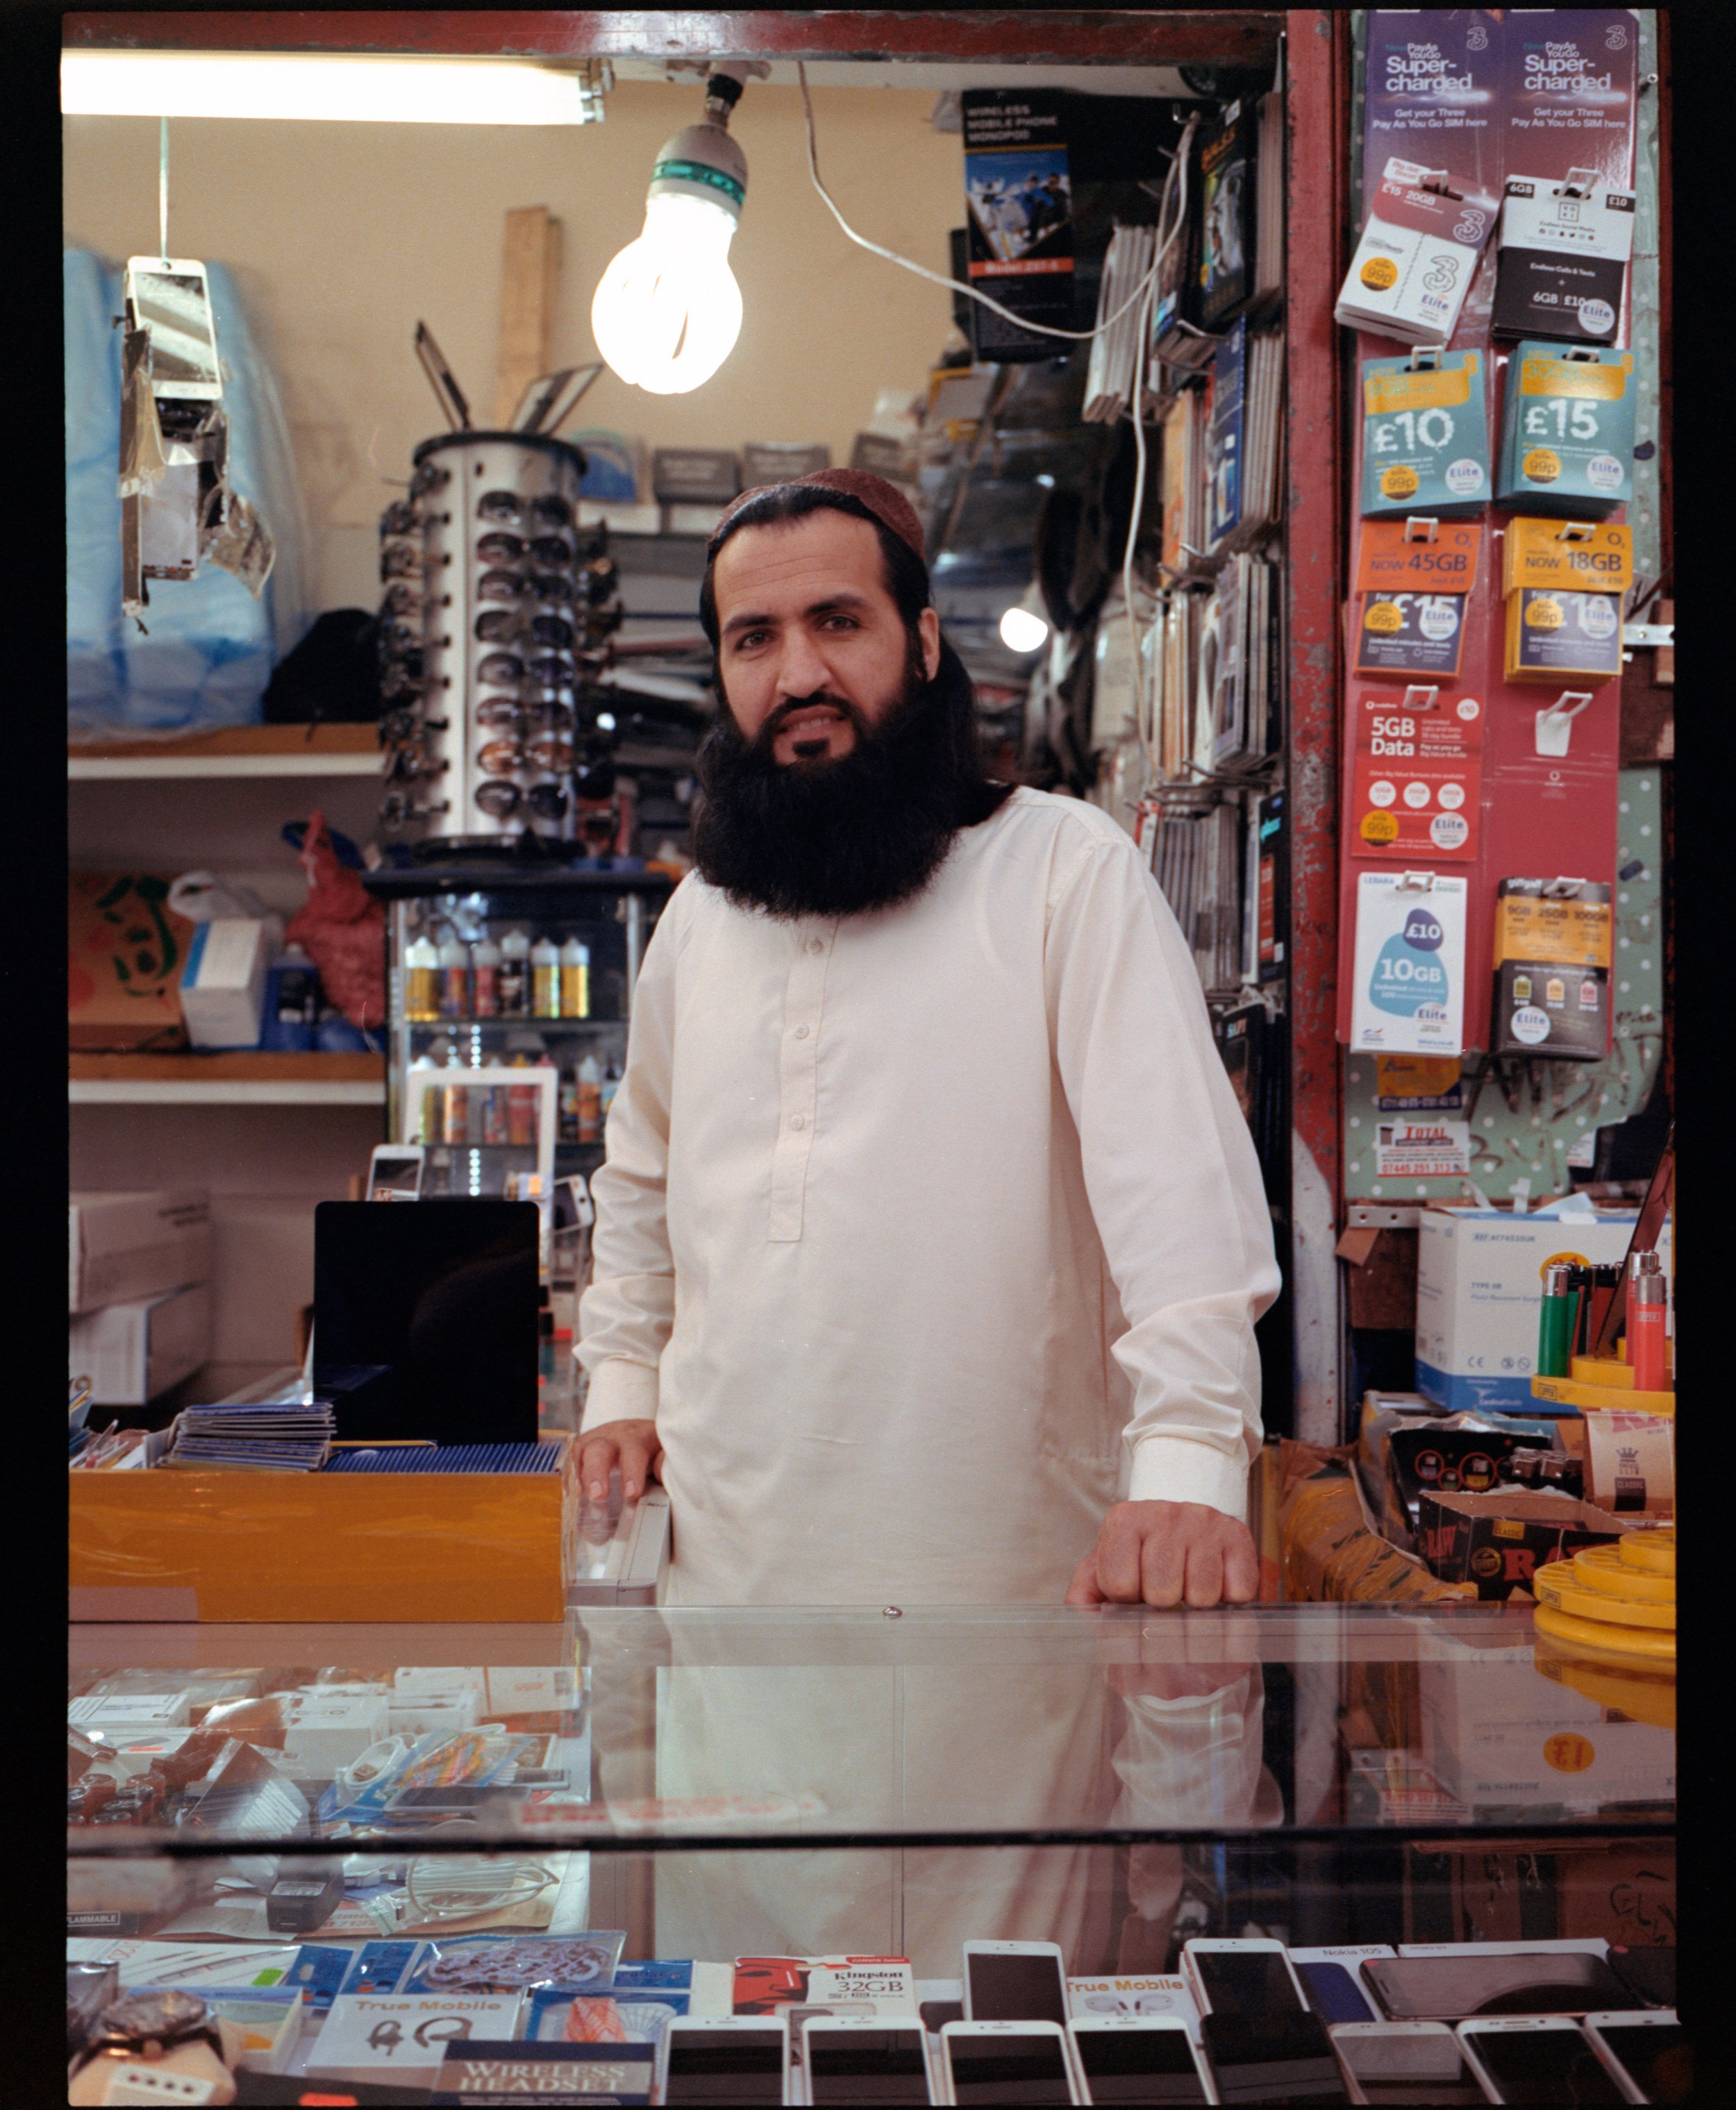
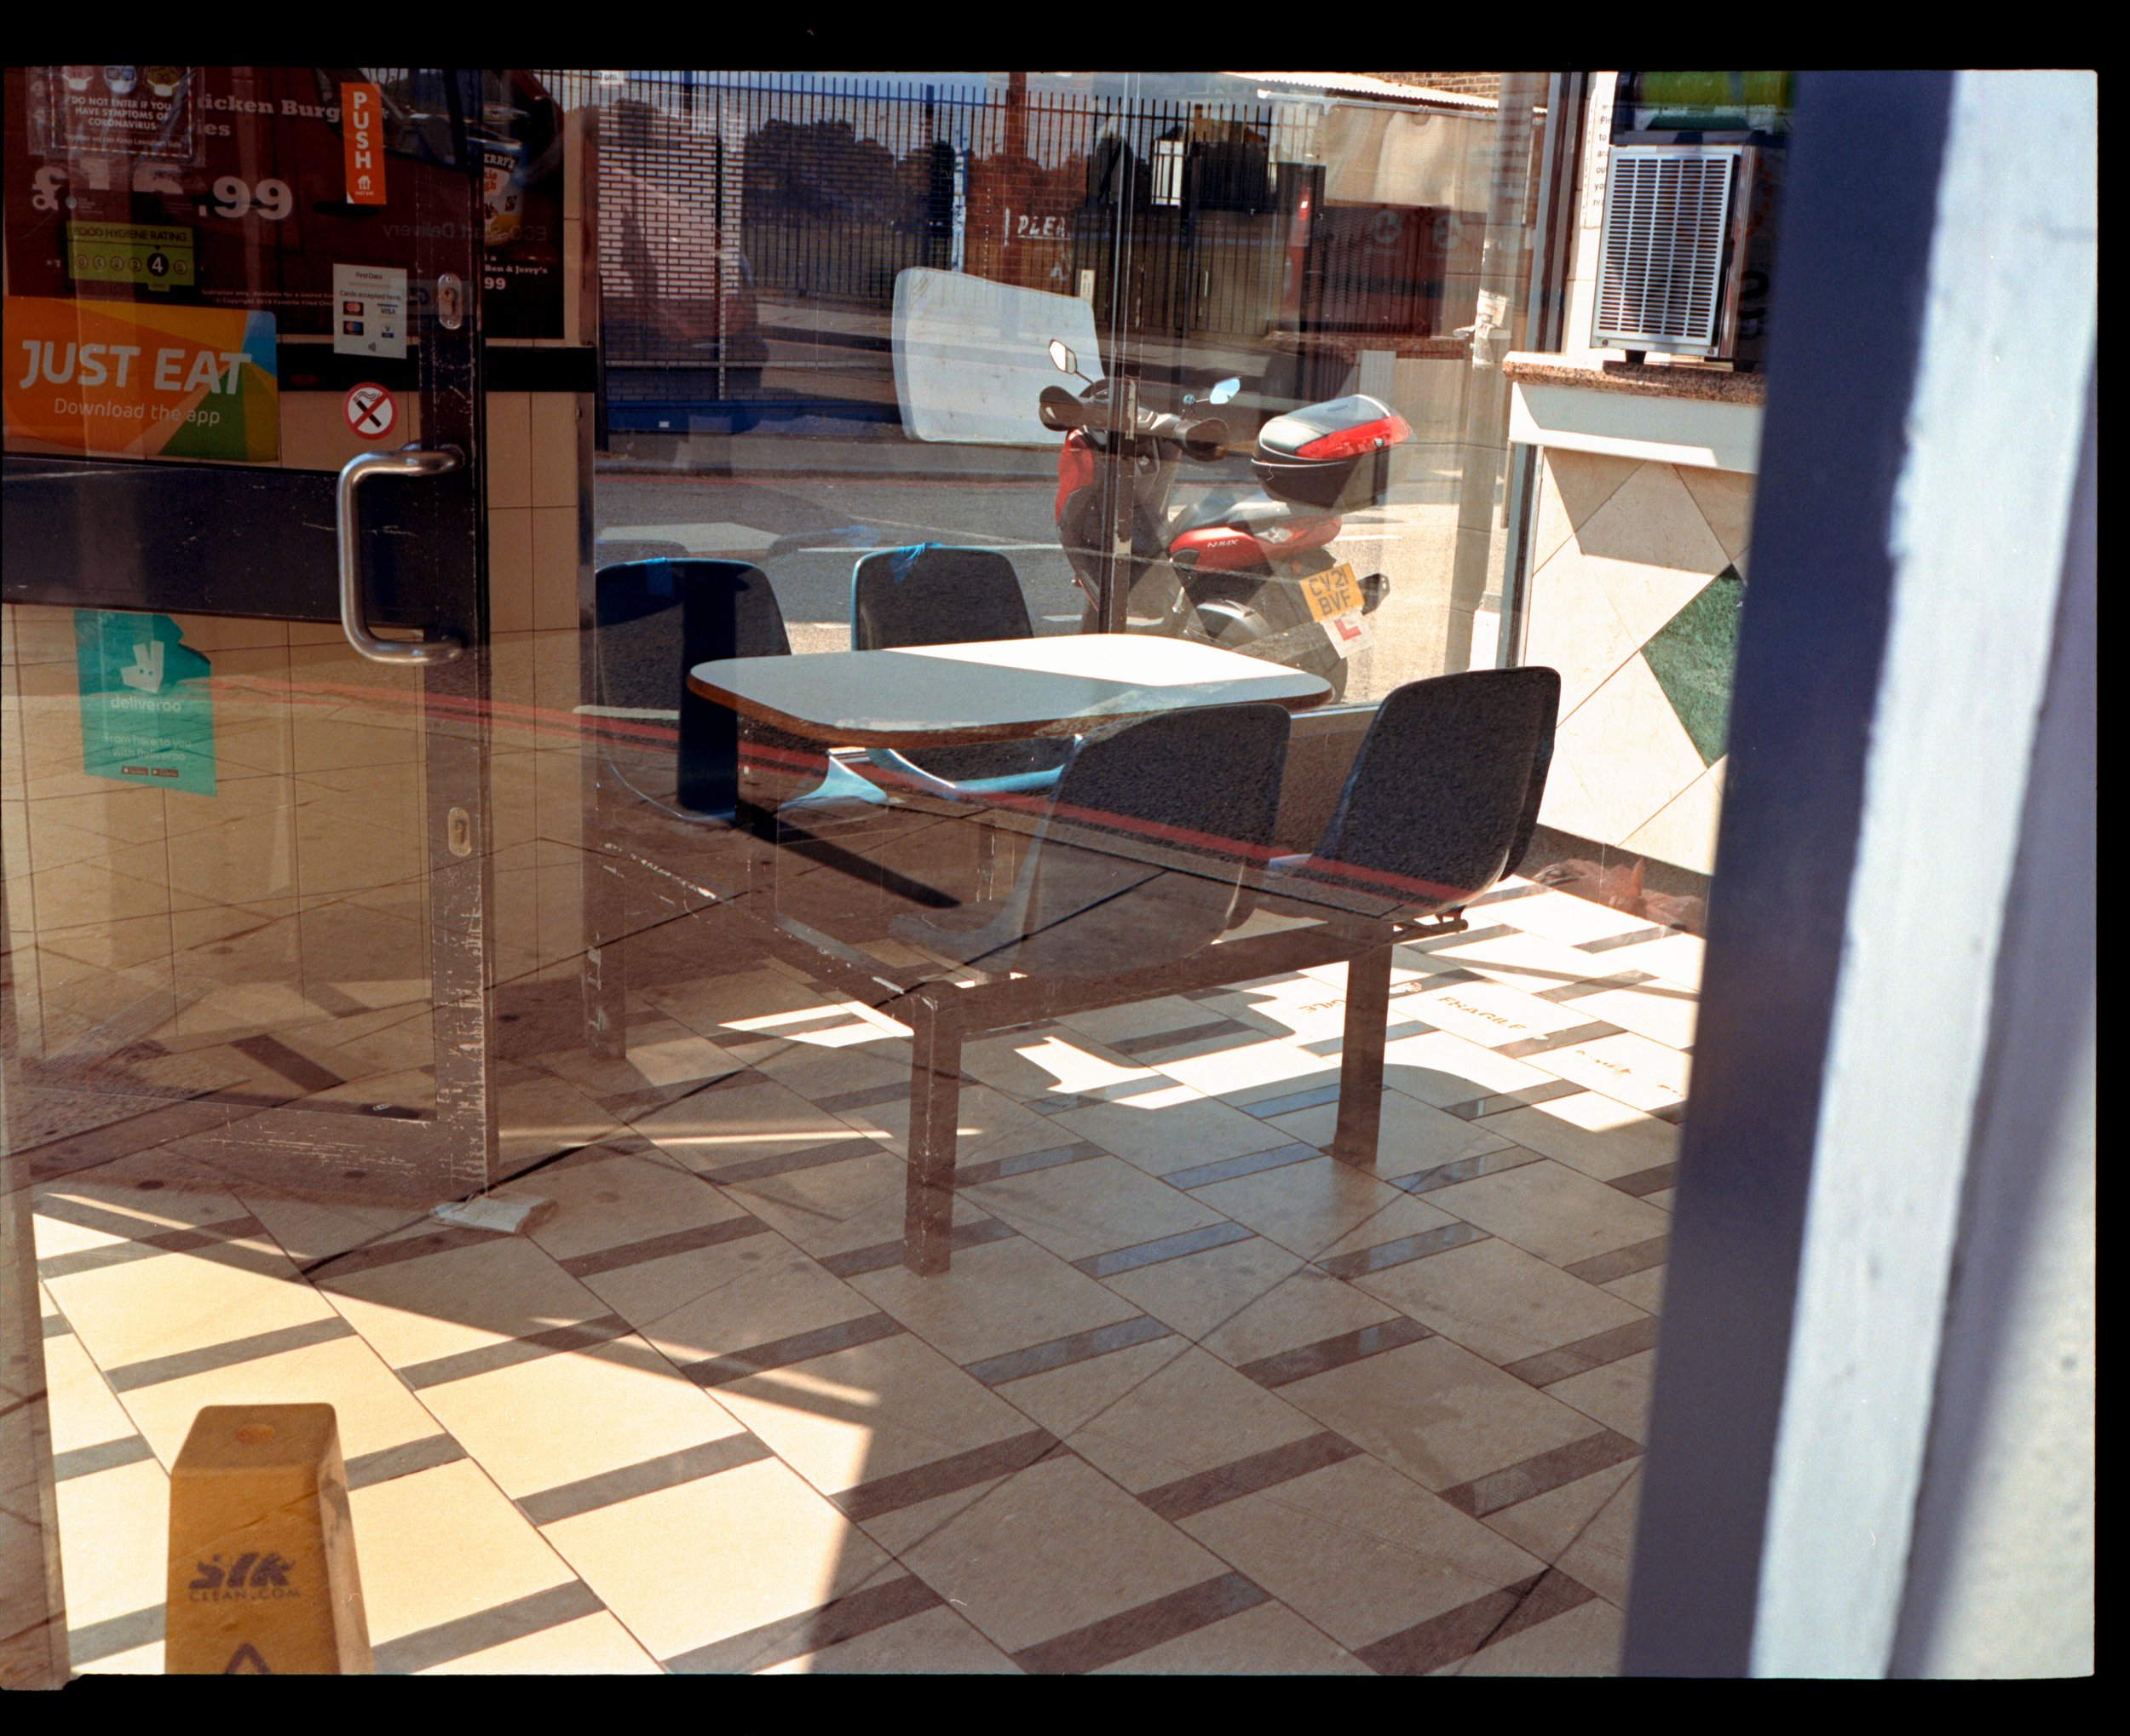
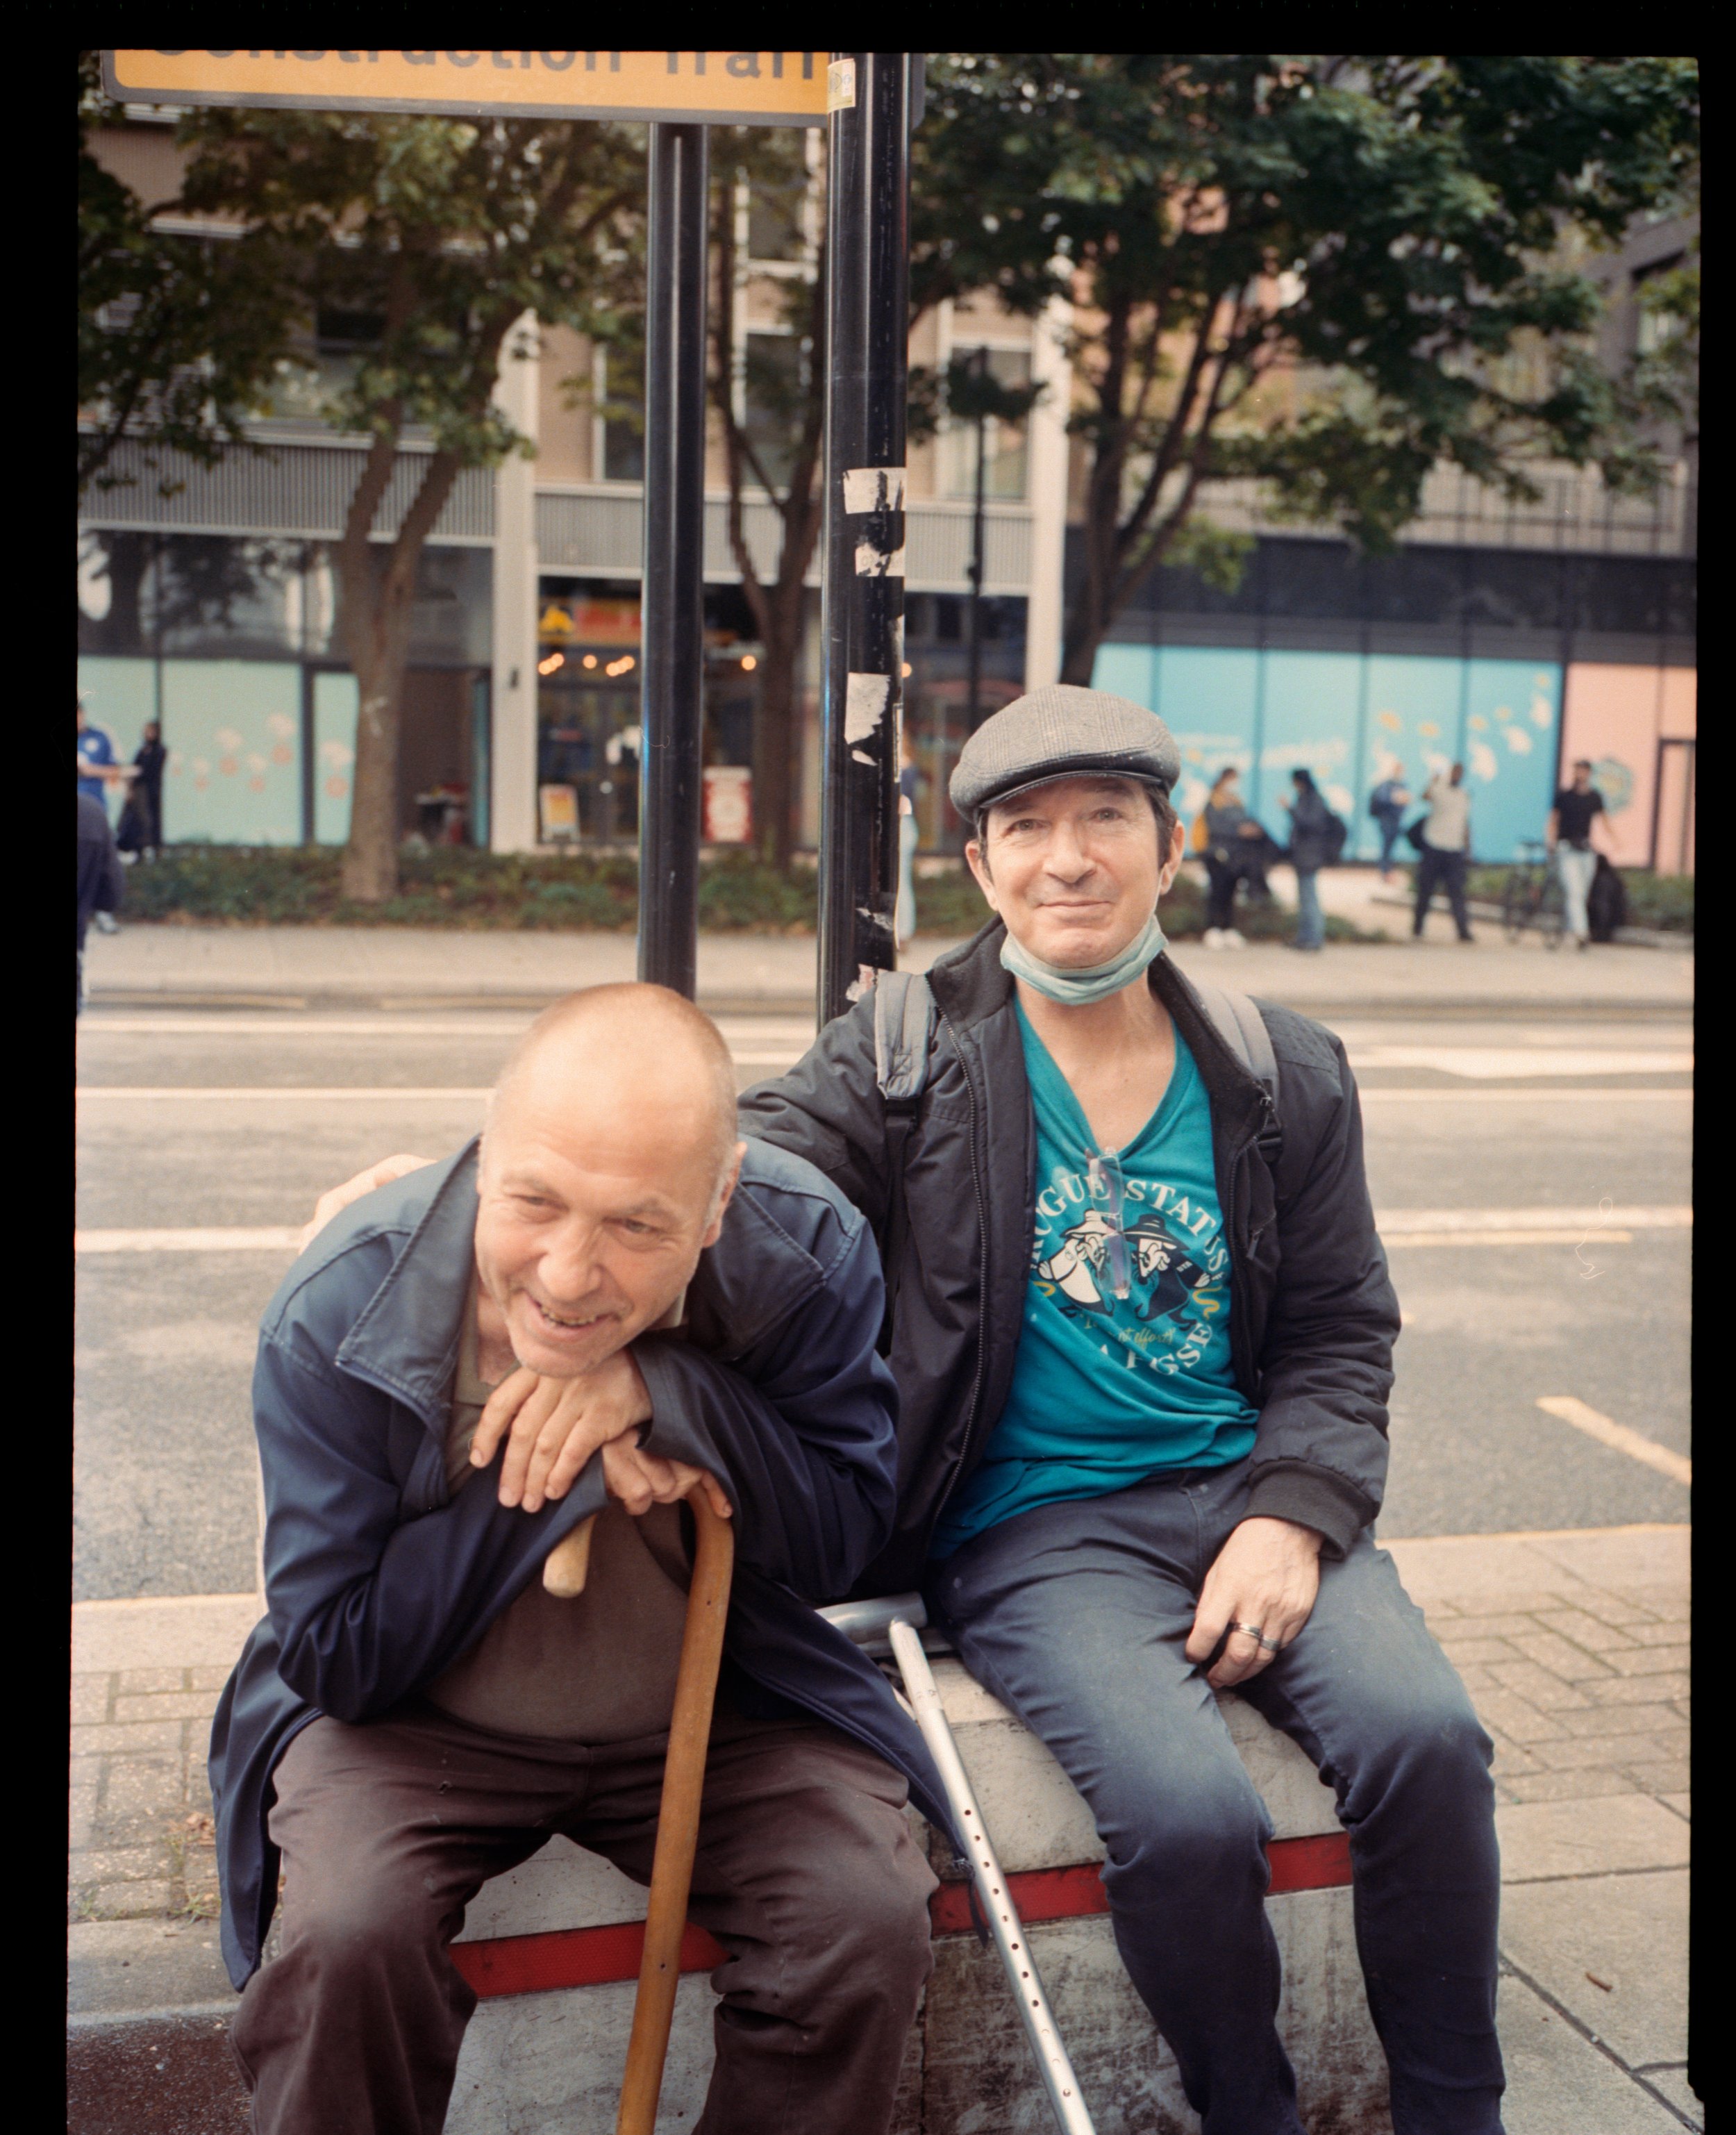
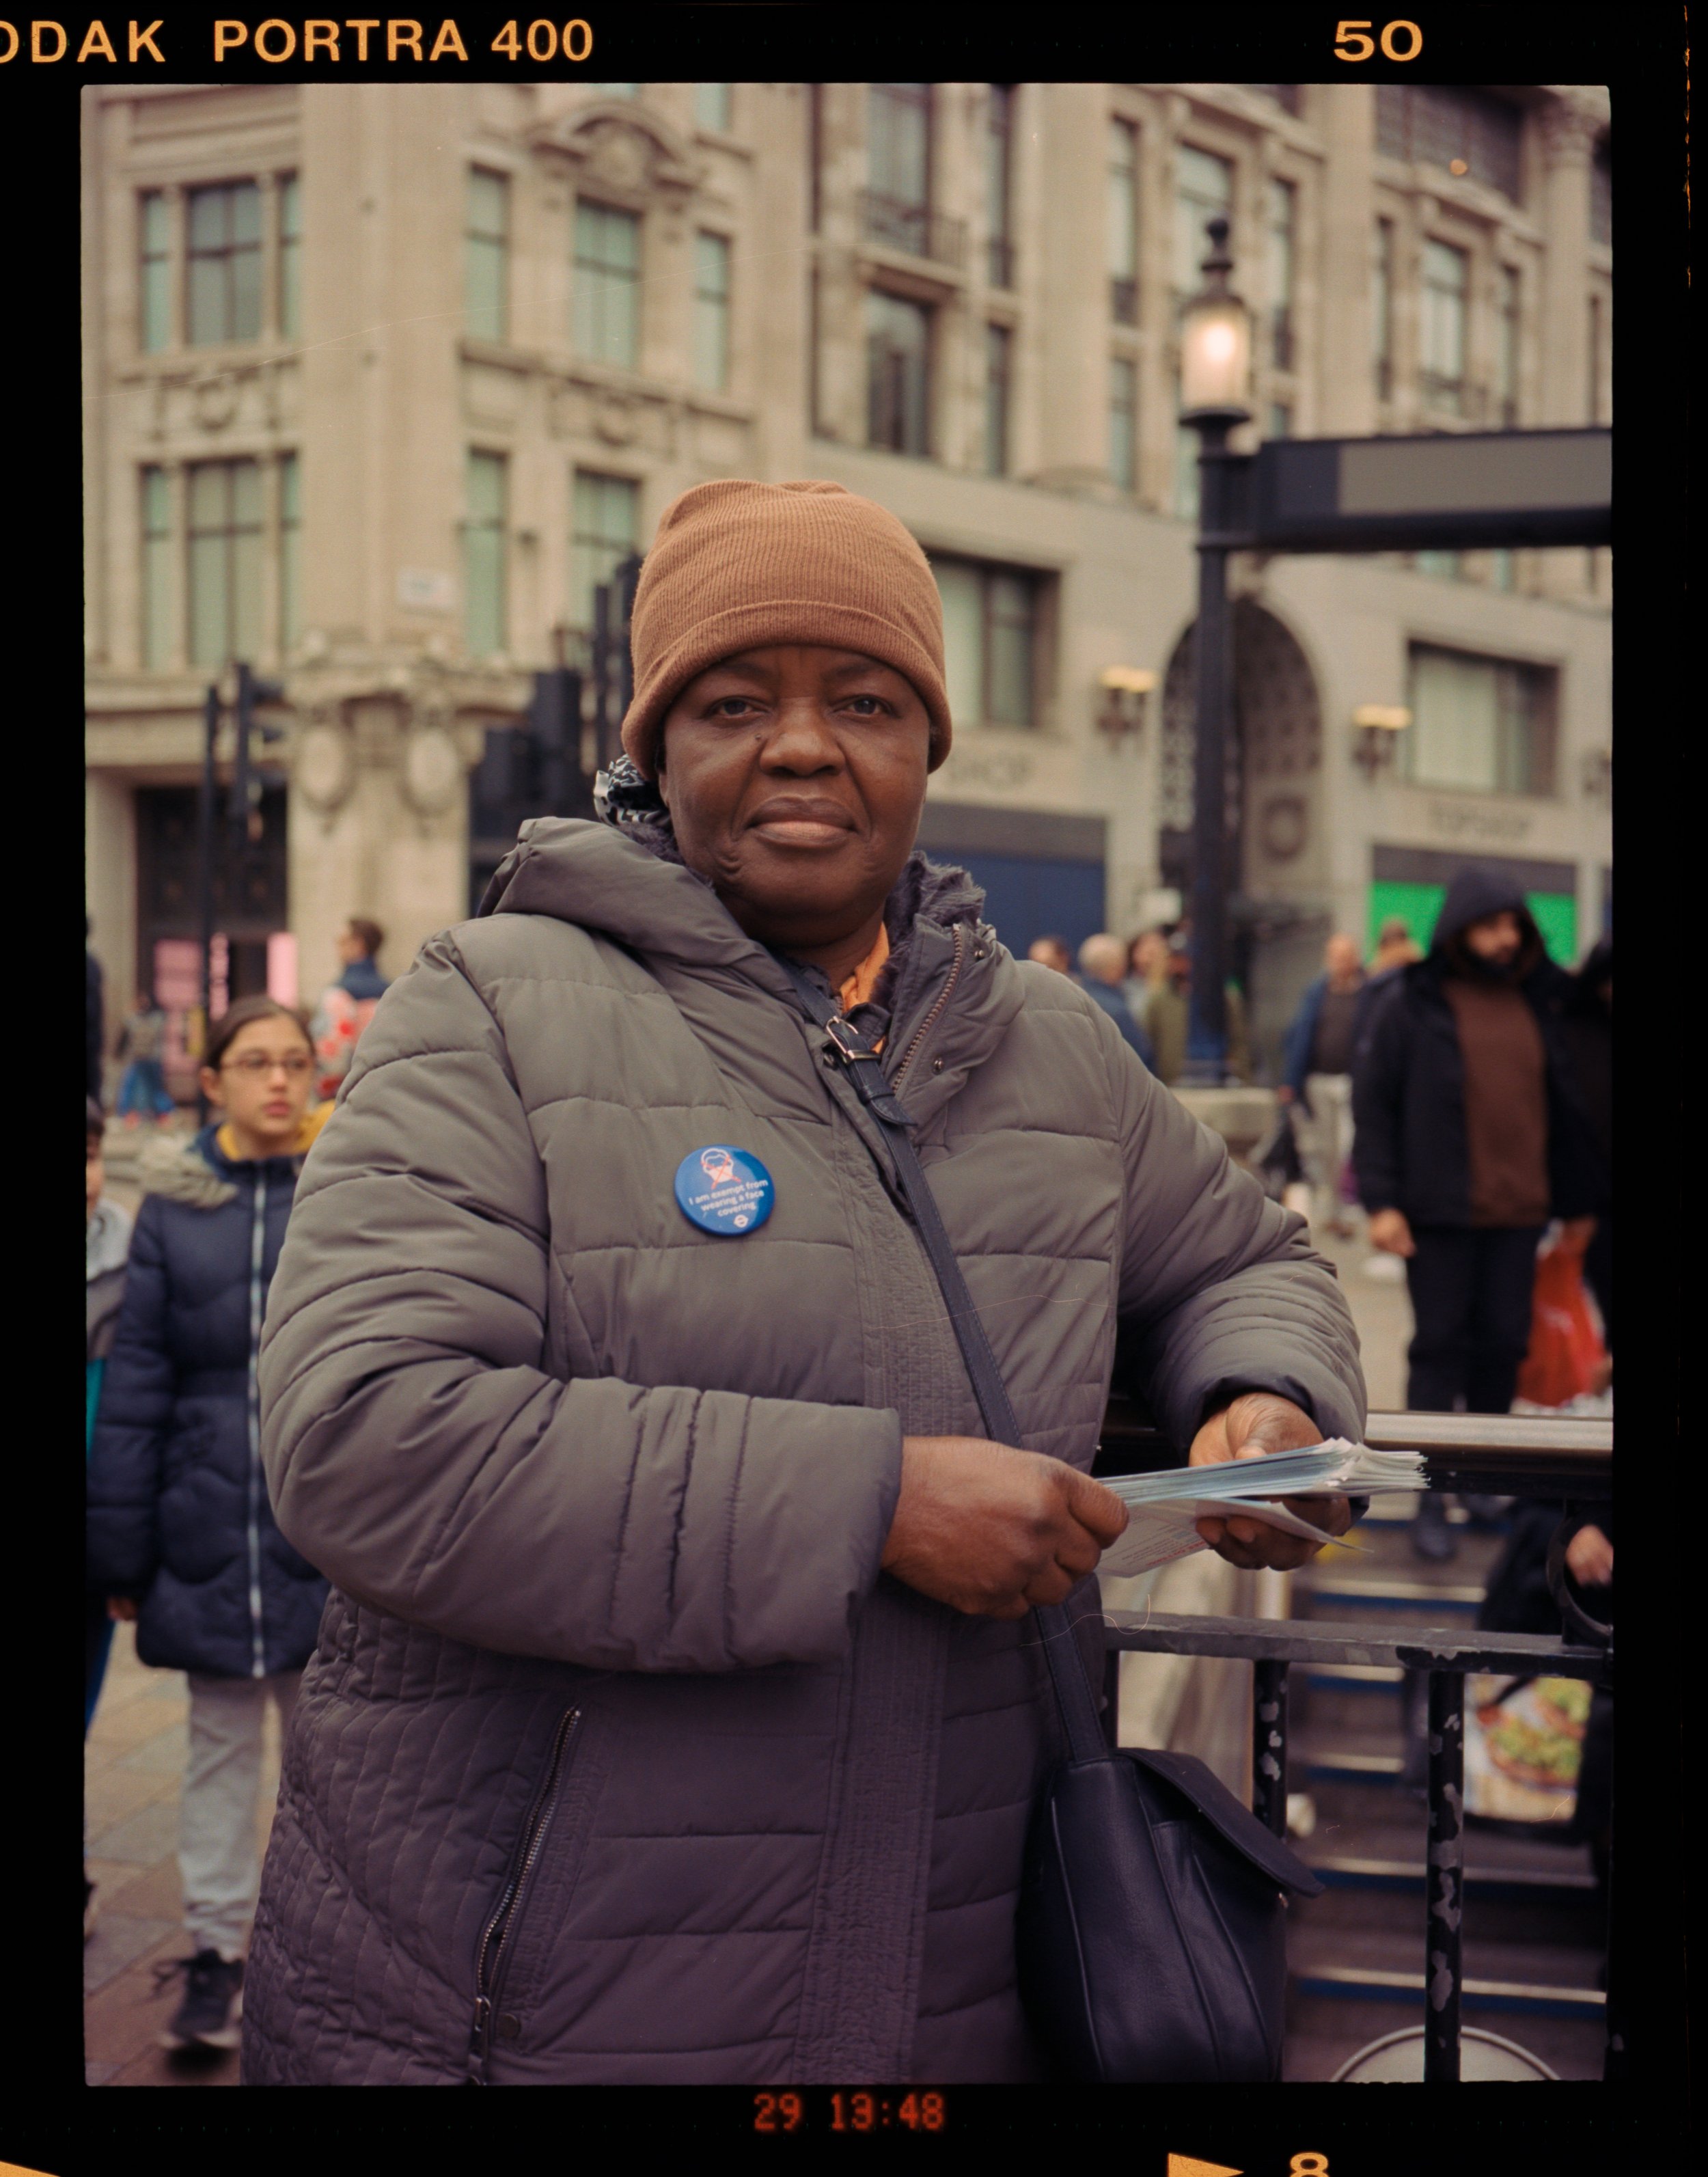
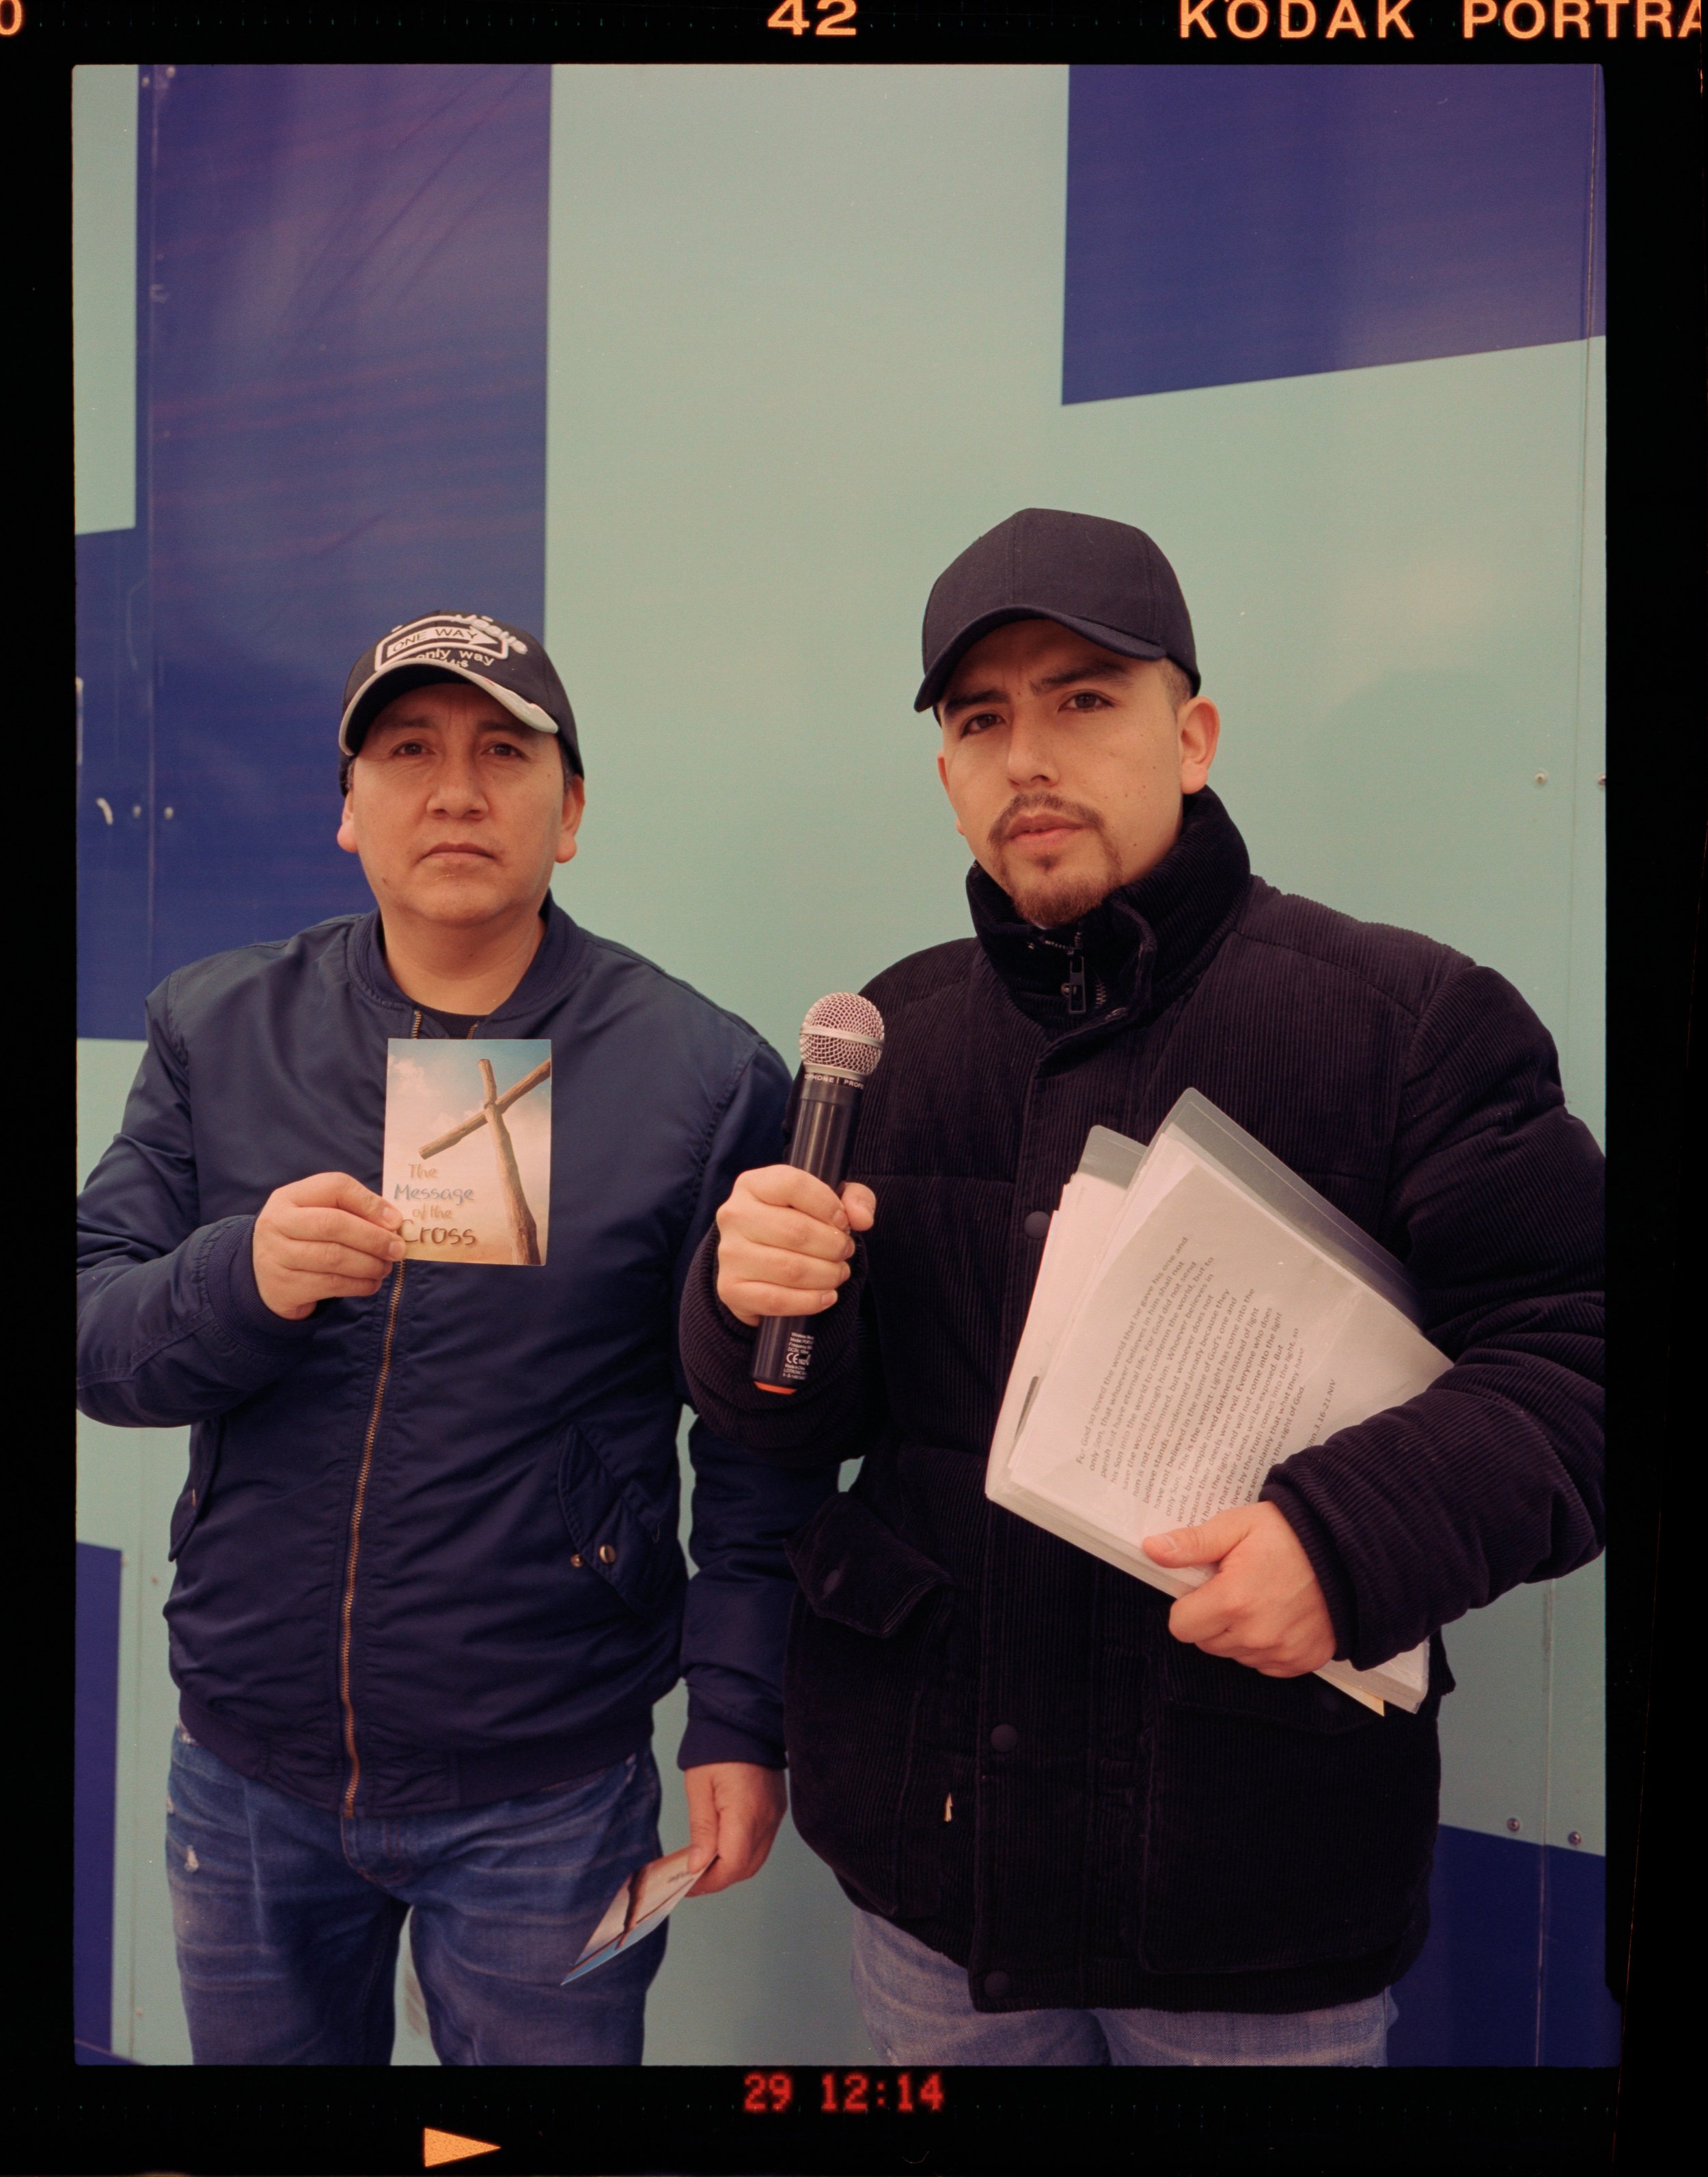
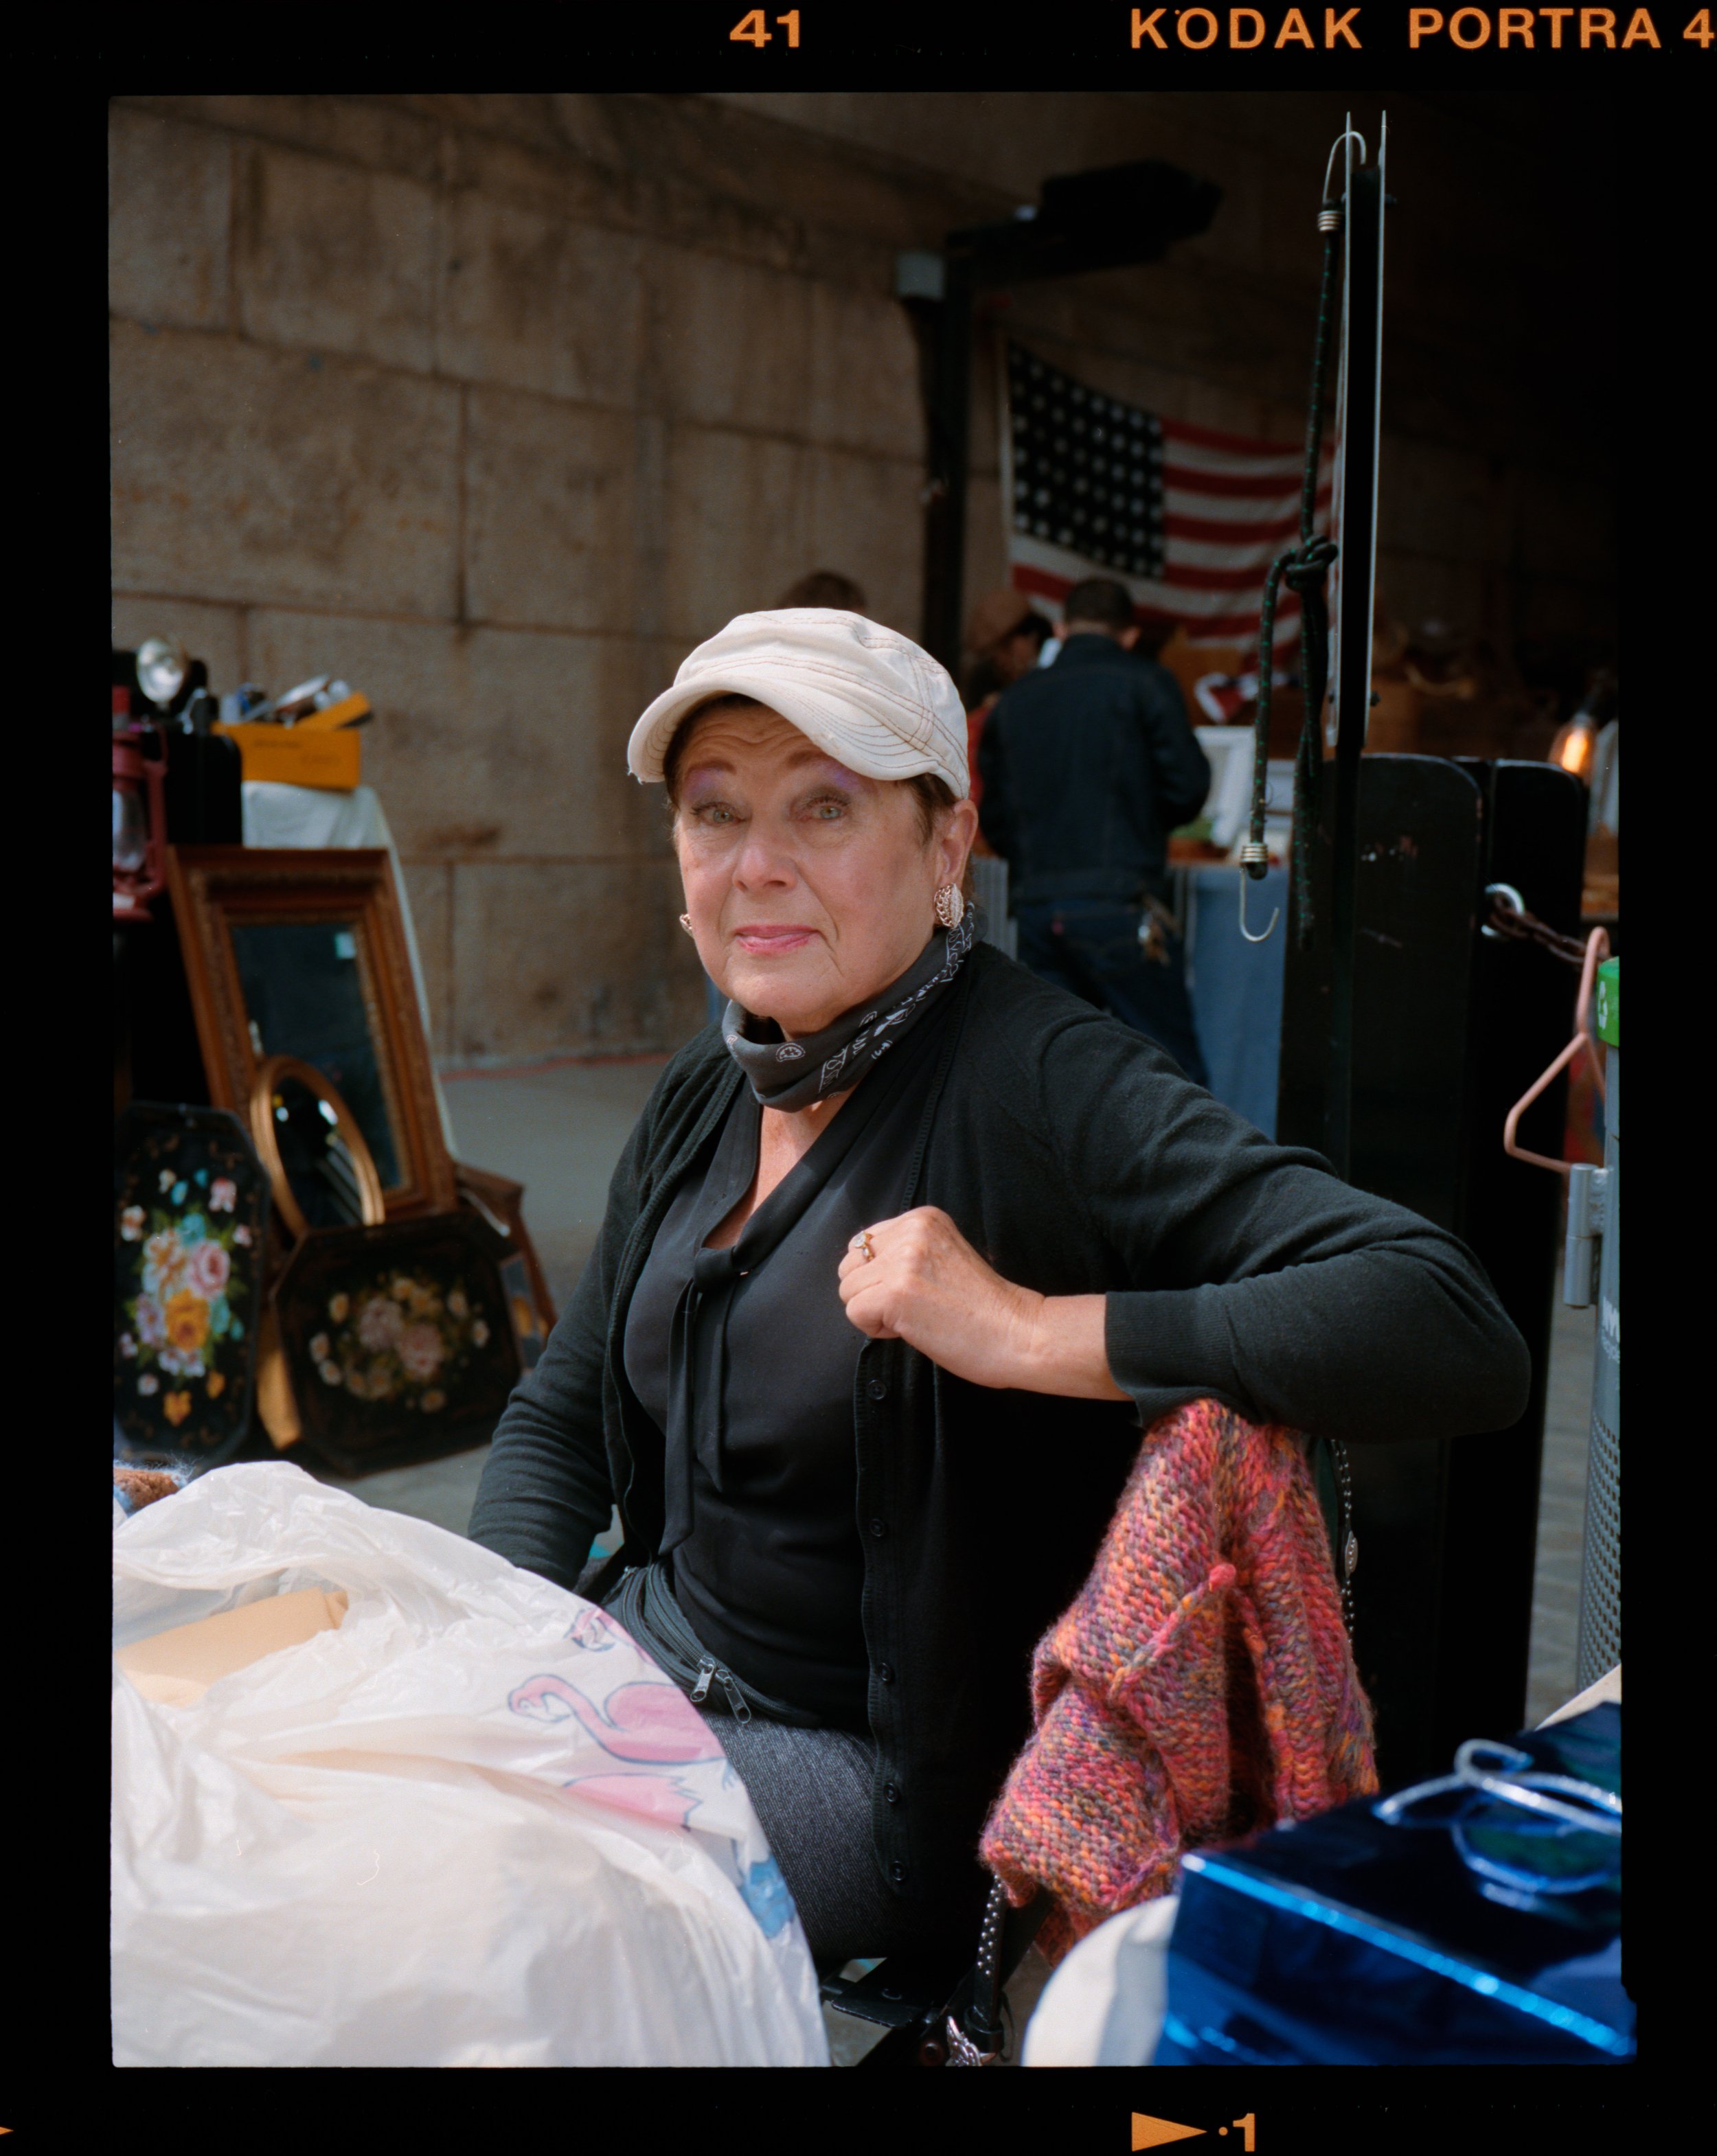
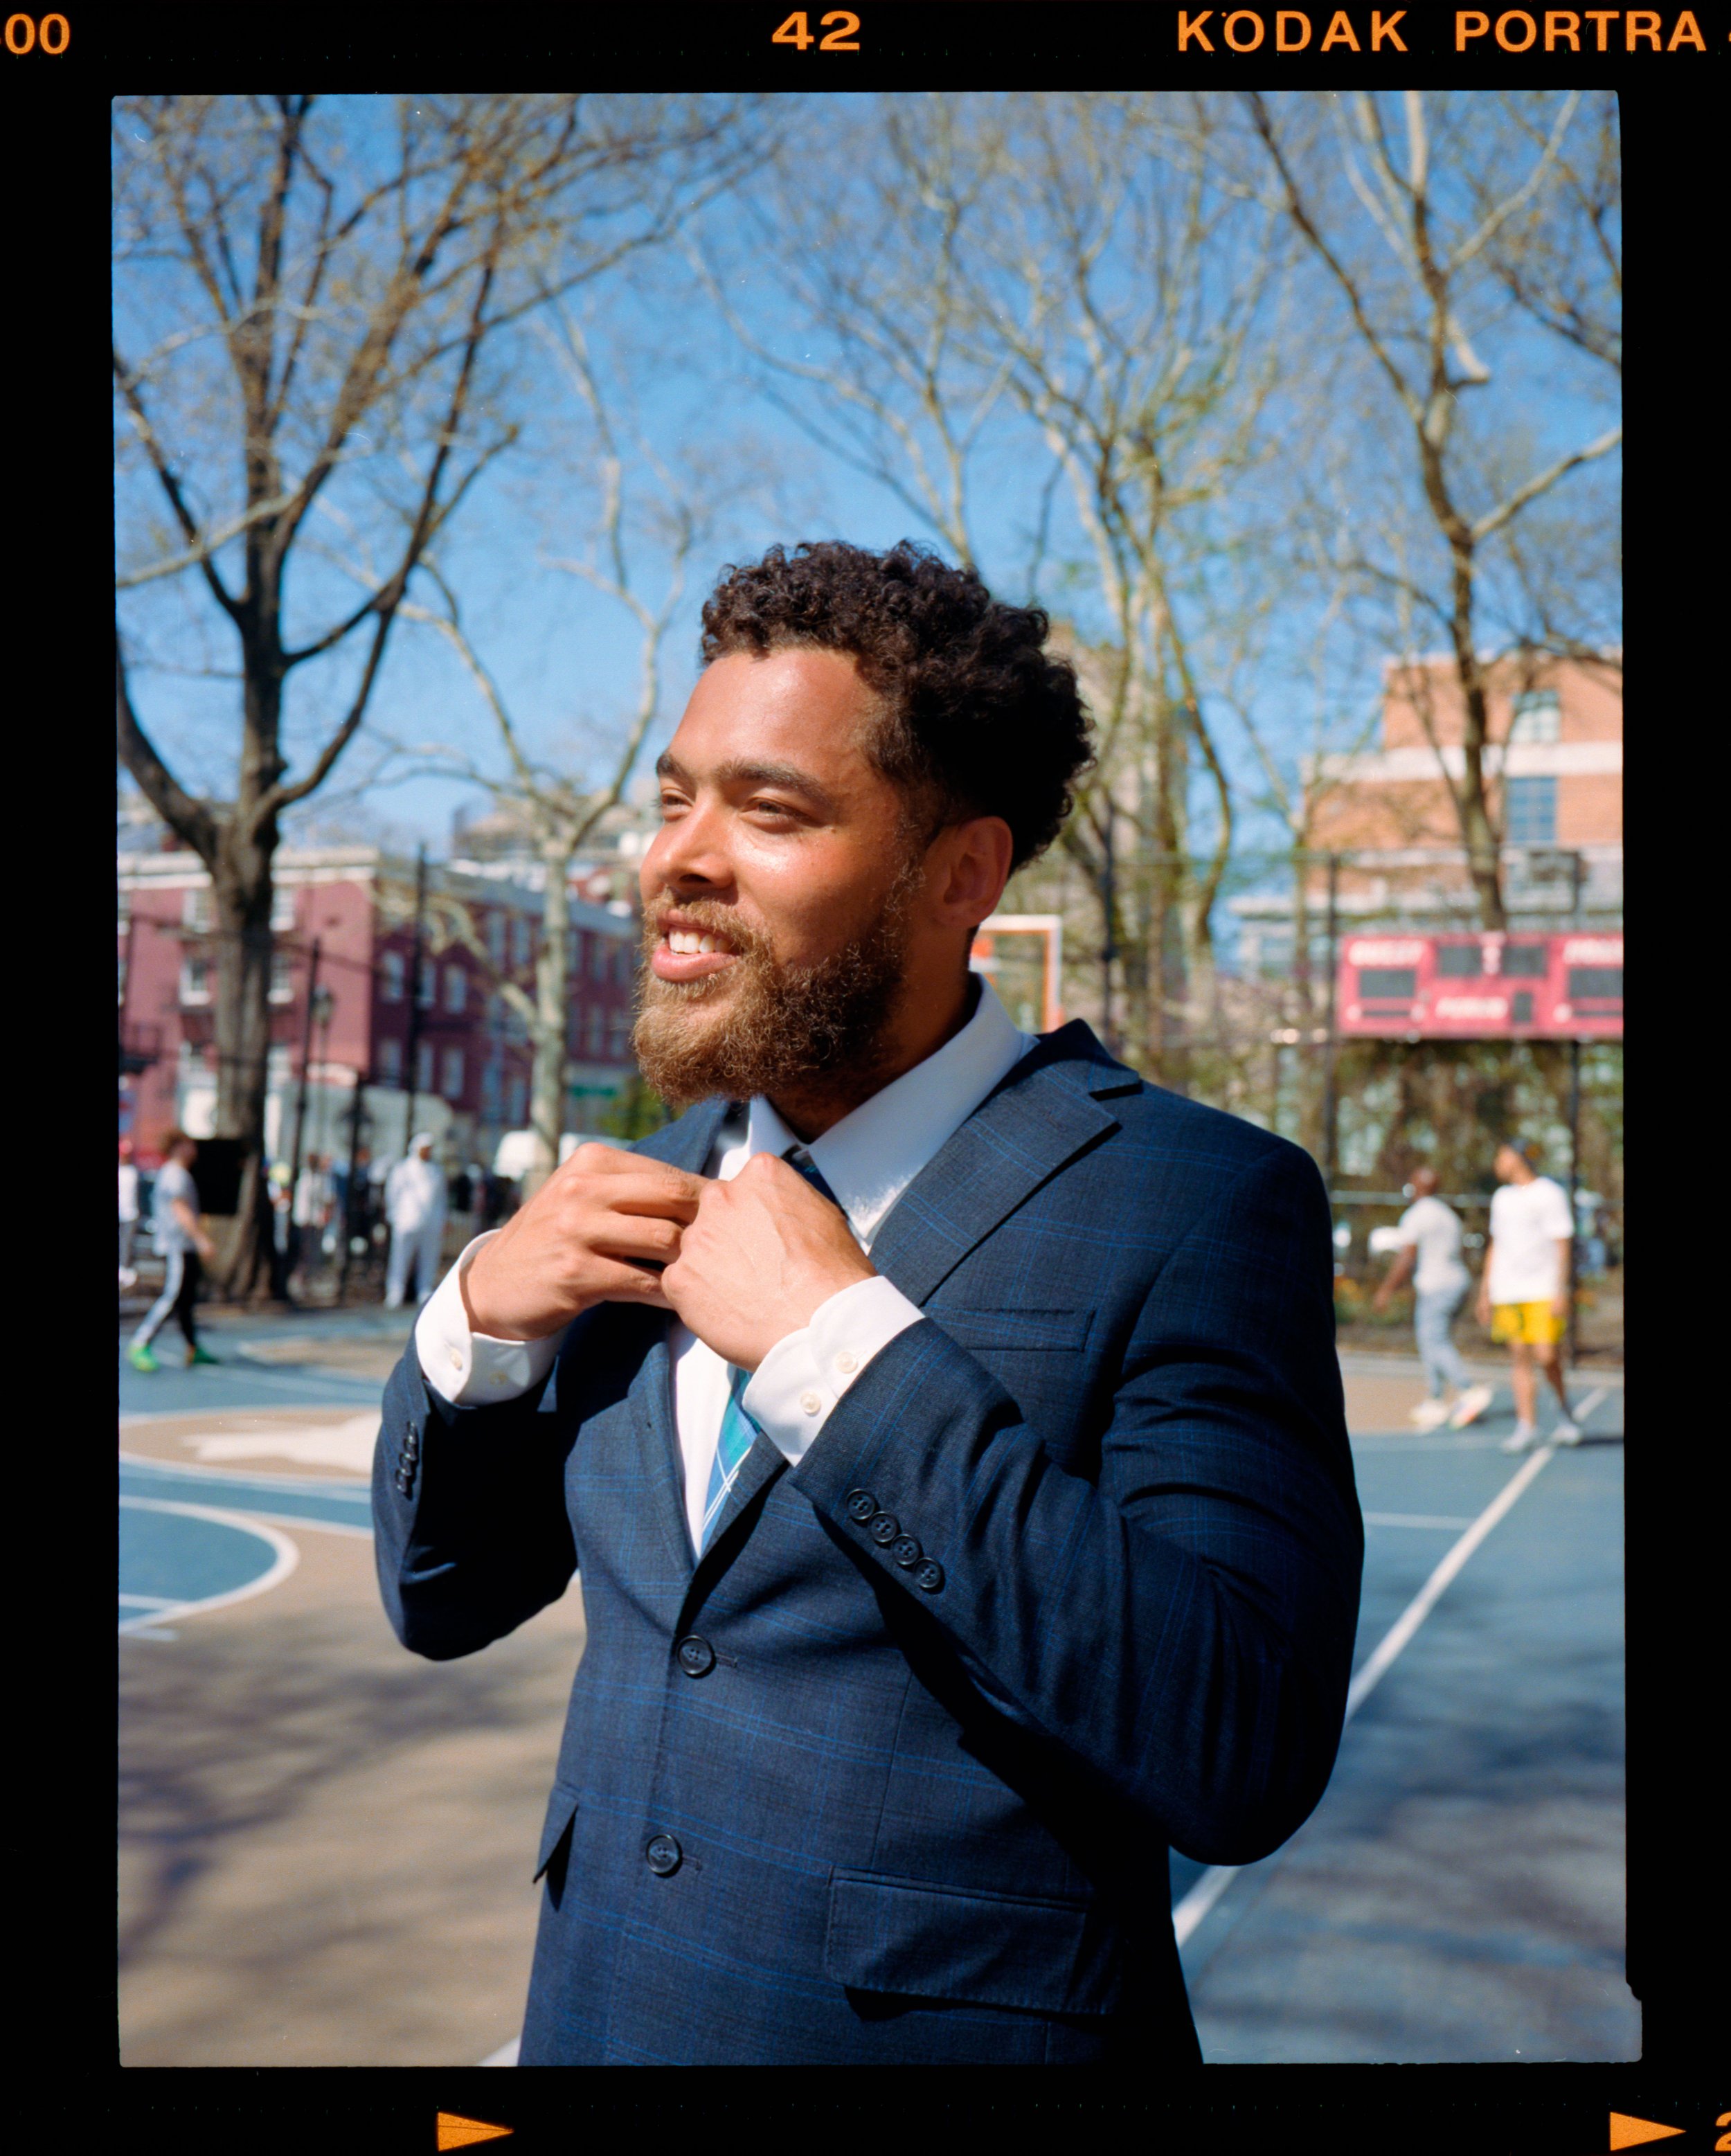
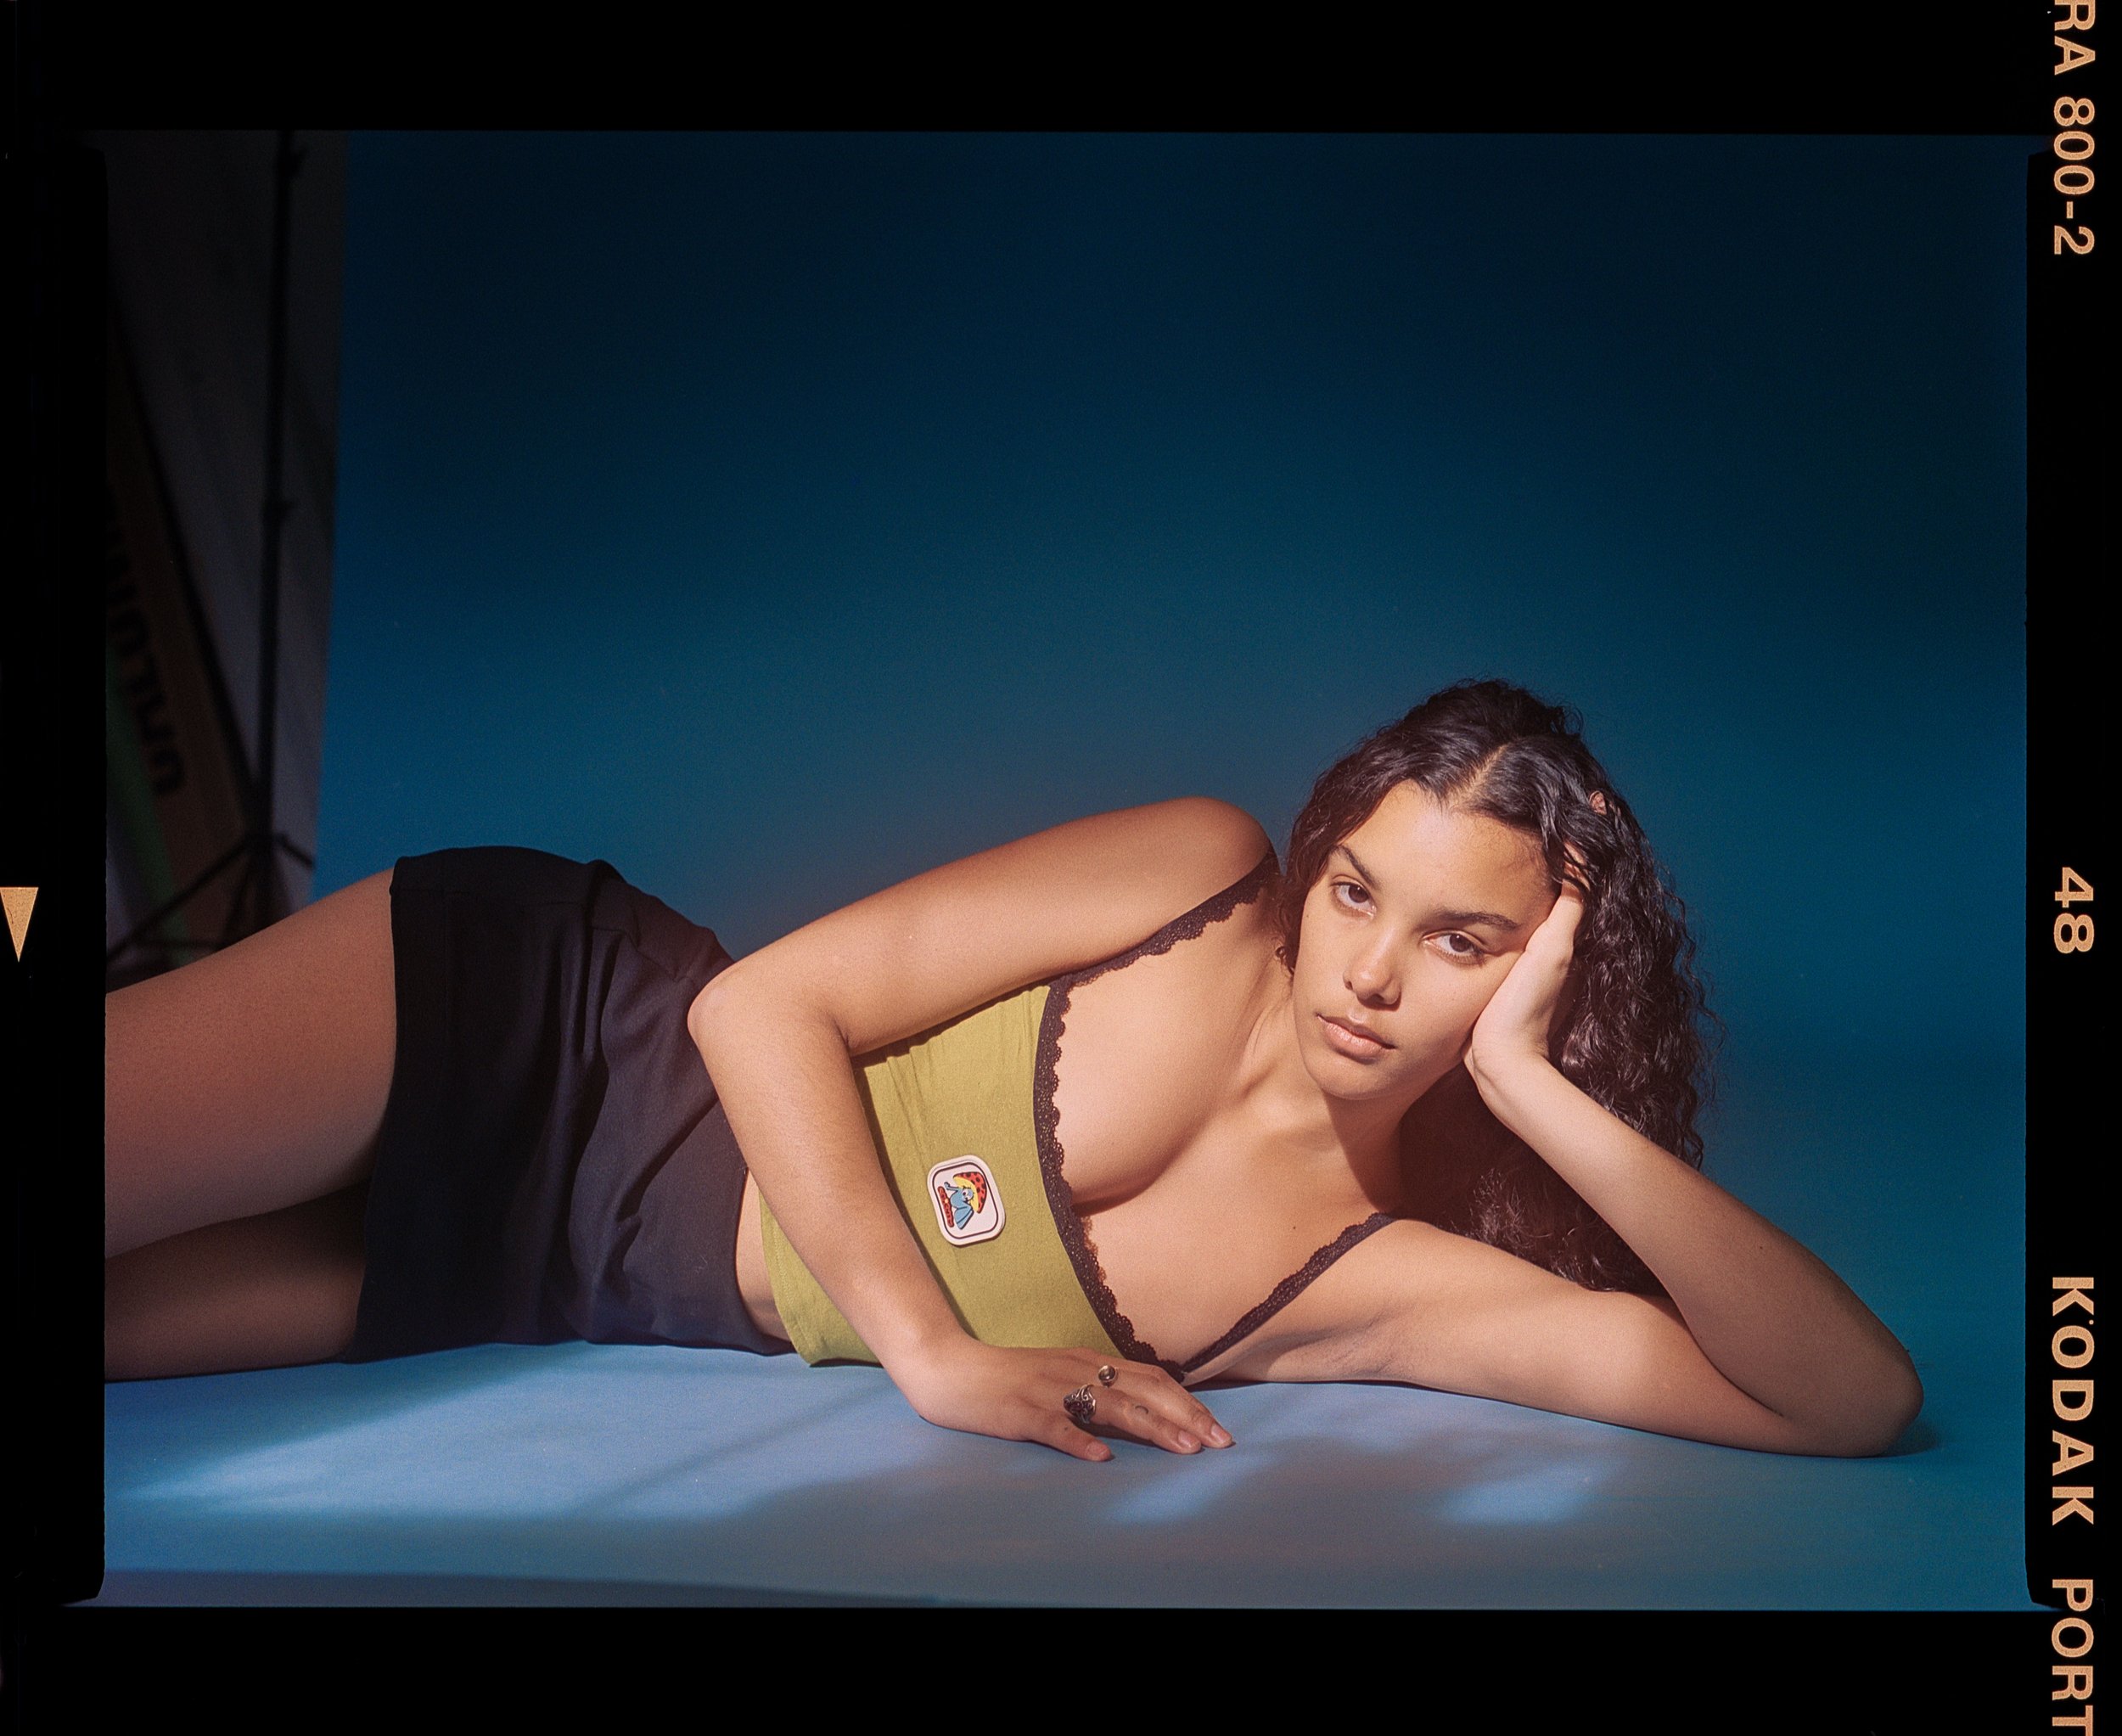
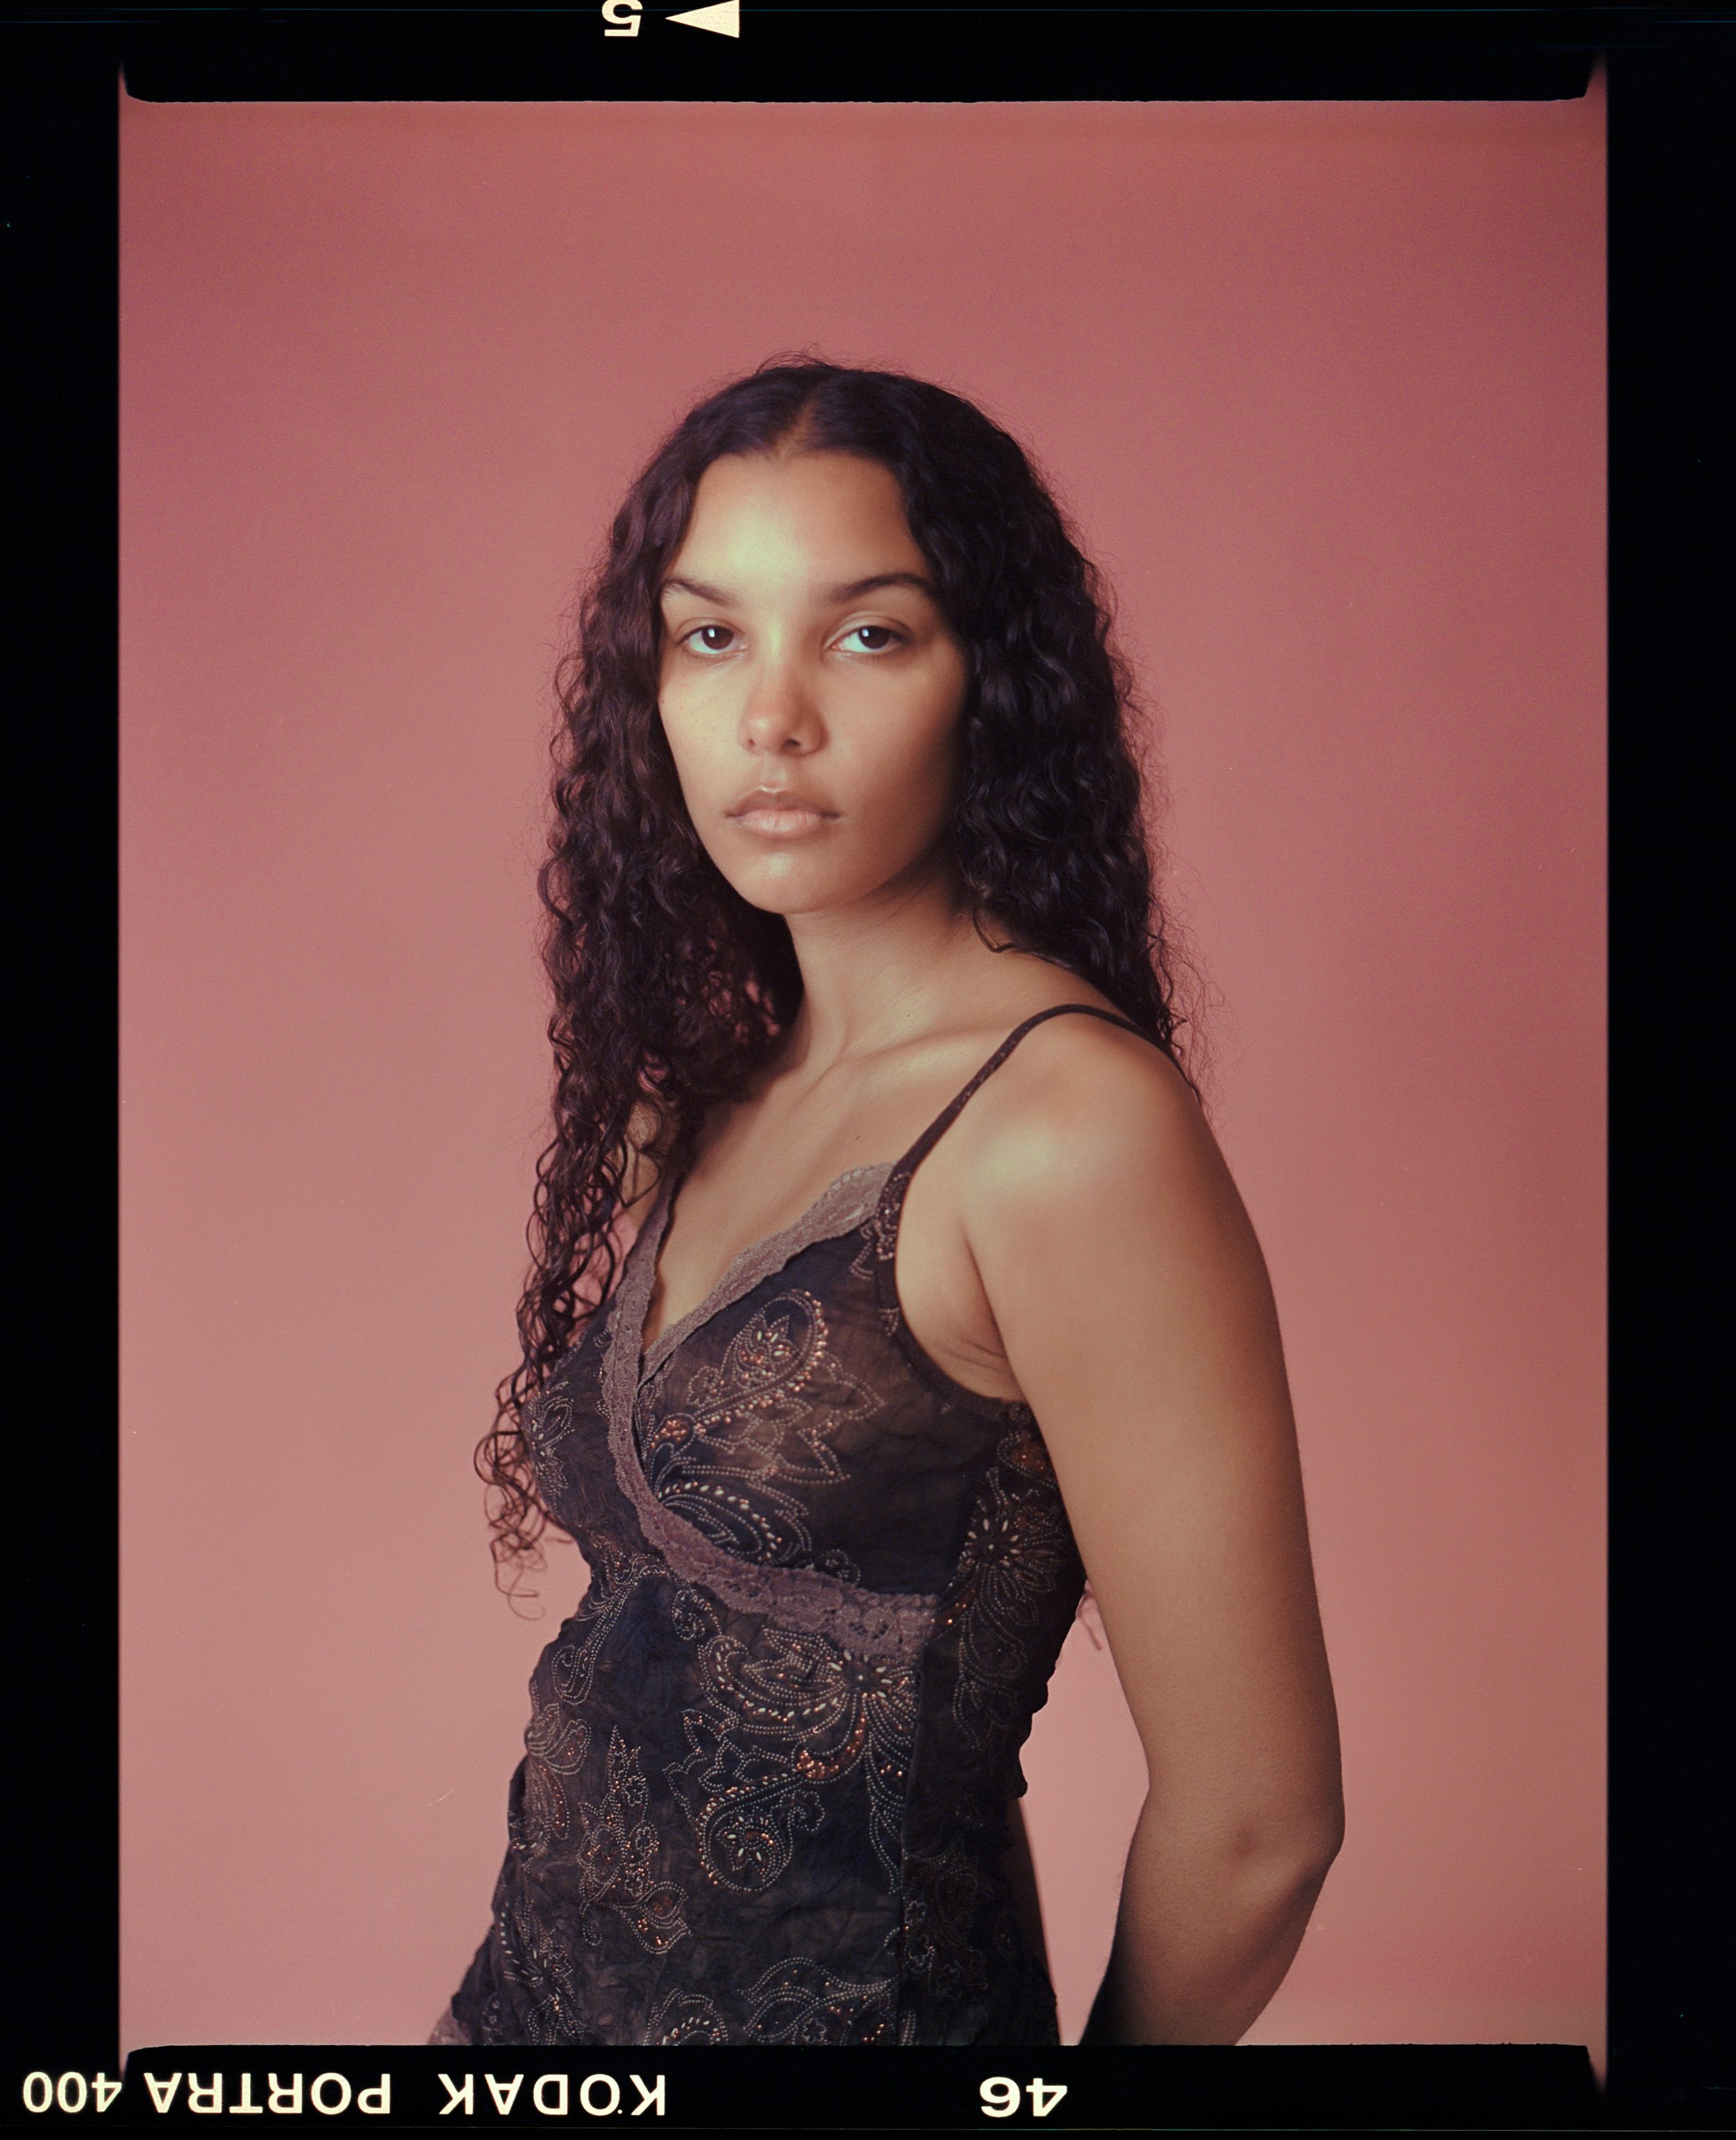
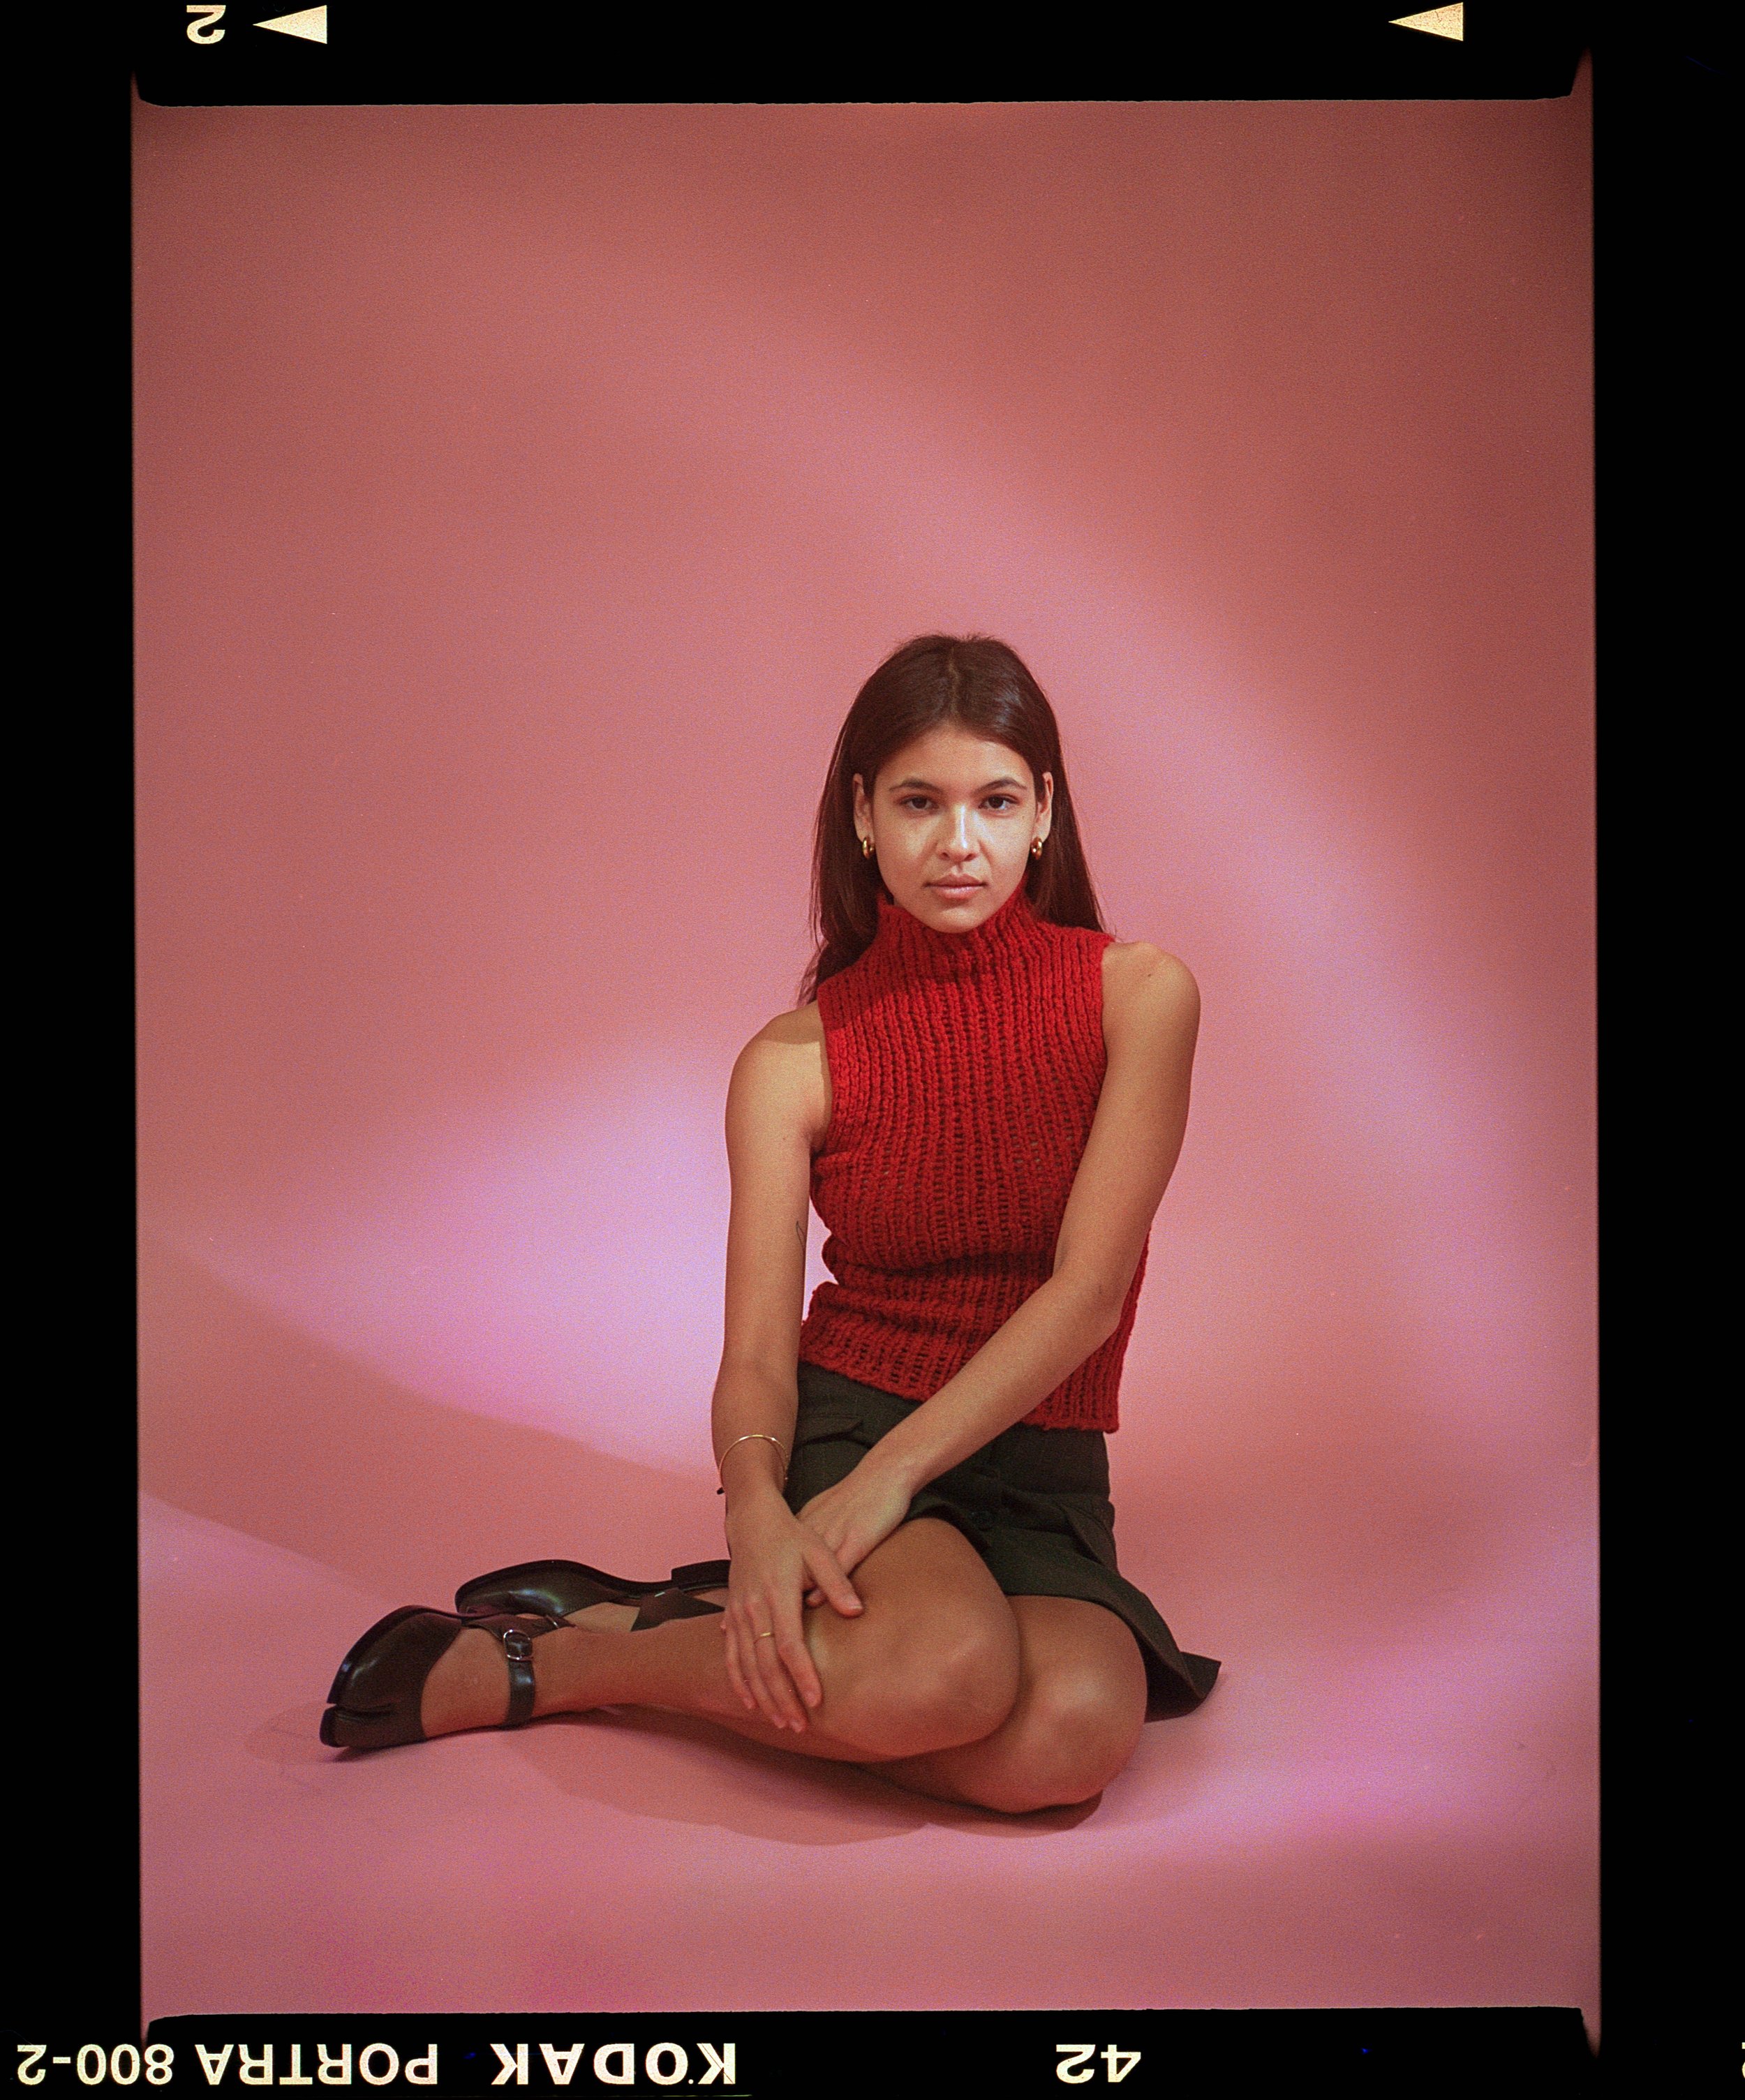
Below are some results of my photography, some portrait photography in my London studio, some from walking around the city. I find I take much more care in my photography these days due to using film; when using digital photography I would come back with an endless stream of images, sometimes thousands and would have to go through them to find the same amount of images I end up with on film.
Have fun!